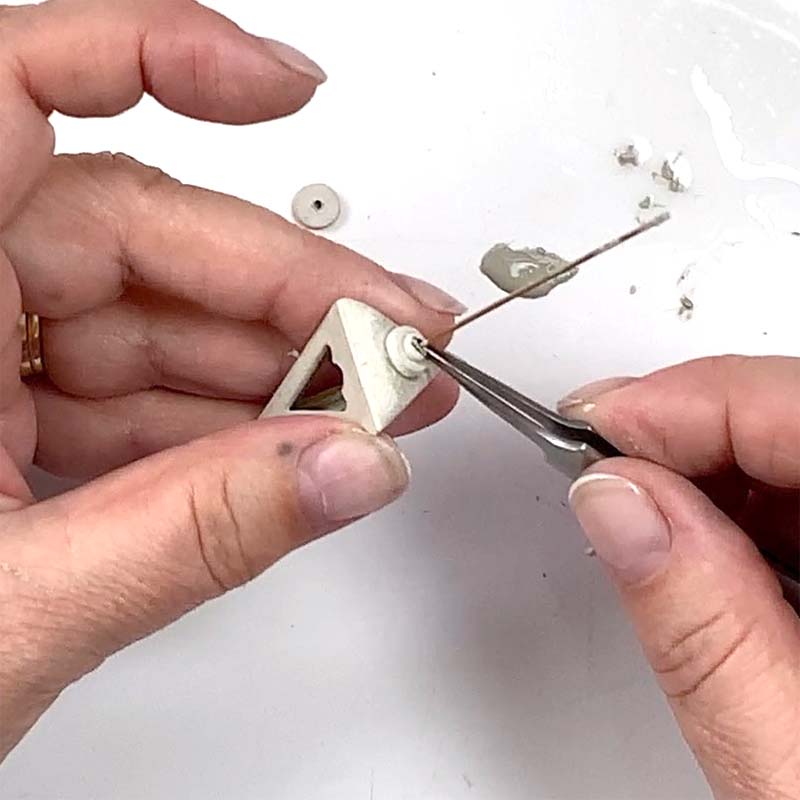
By using water (or certain liquid formulas, for example Paste Maker or Clay Stay), pressure and clay (lump clay, slip or syringe clay), you can connect one piece of dry clay to the other. Different artists use slightly different formulas, but in general moisten the dry area(s) to be attached for a minute or two on both connection points, put clay where the pieces are to attach, and then press them together for several seconds. This is the most common way of connecting two dry pieces of clay.
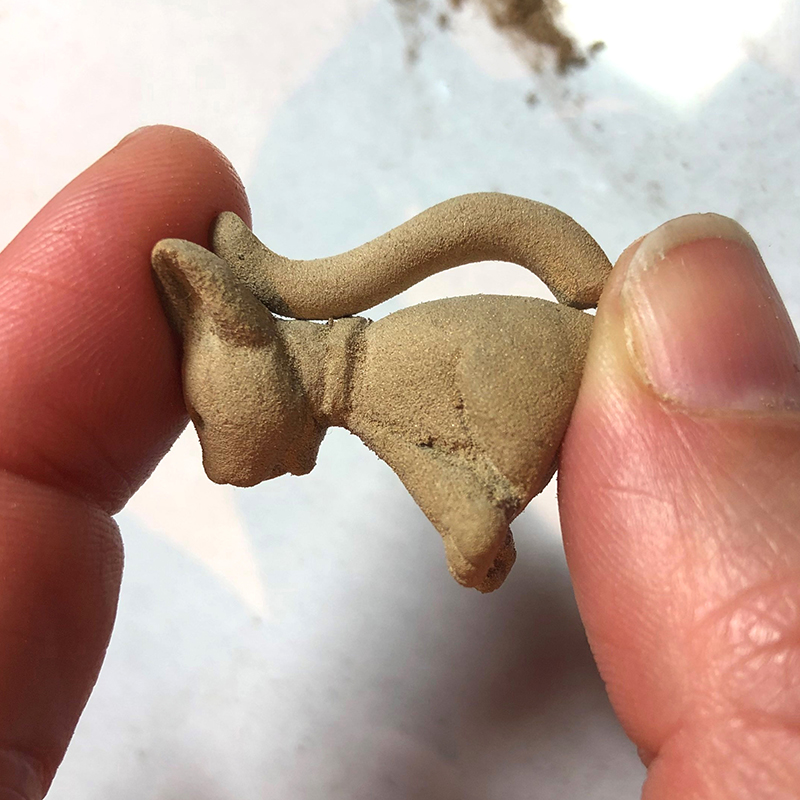
Smaller pieces or those with less wear, do well with slip. Larger pieces or those subject to more wear should probably use lump clay to make secure attachments. Some people gently move the pieces back and forth to be sure they ‘grip’ each other. This helps to ensure they are well attached. It is informally known as the ‘wiggle method’ or ‘squidging’. If you need to connect wet clay to dry clay, be sure to dampen the dry clay first, as above, add clay and pressure.
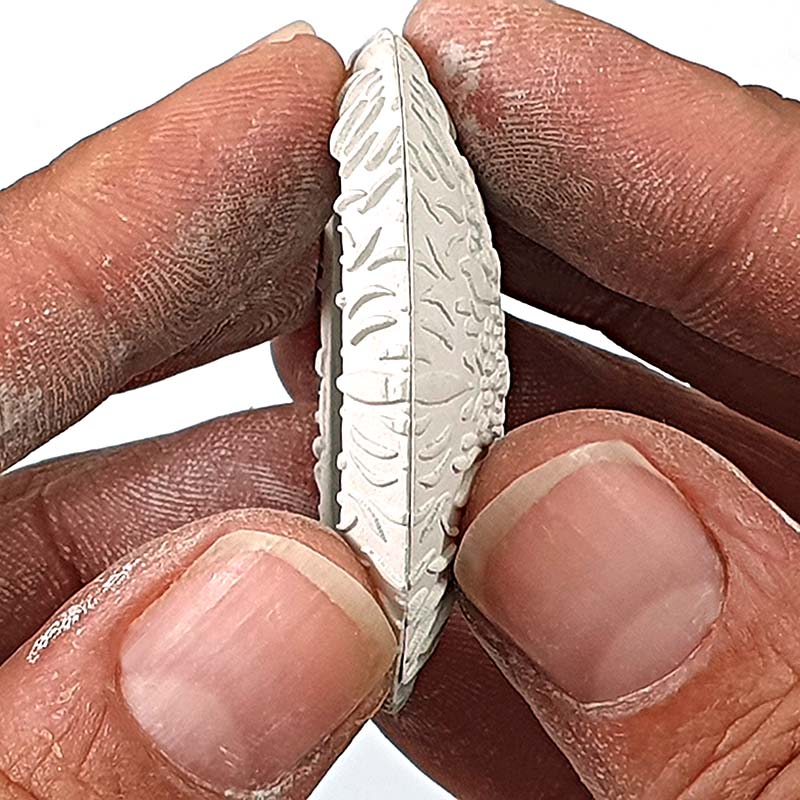
Dry construction is well used in the formation of hollow items which are not as heavy and save clay. A good example is a hollow bead that has two halves. Each side, usually a circle, is draped over something round, a ball or lightbulb, for example. When both halves are dry, the edges are aligned and sanded so that the sides meet correctly to form a hollow bead. At this point, the edges are moistened, fresh clay or slip is applied, the ‘wiggle method’ might be used and they are pressed together, cleaned, dried and fired.
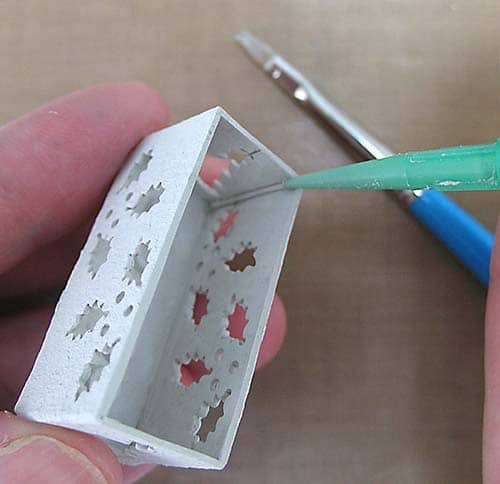
Another example might be a box or triangle, which has multiple sides. Each side is normally made in advance. Then the edges of the dry sides are filed and tested for a good fit. When the sides are ready they are assembled and attached using water, slip or fresh clay and the pressure method. It is important to note that each part should be attached individually and allowed to dry rather than trying to do everything at once. Also note that by allowing the clay to dry, you can utilize the strength of the dried piece to hold the geometric shape. This would not be possible with wet clay.
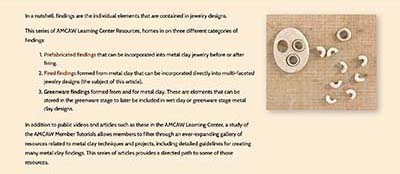
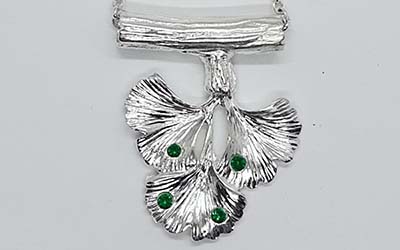
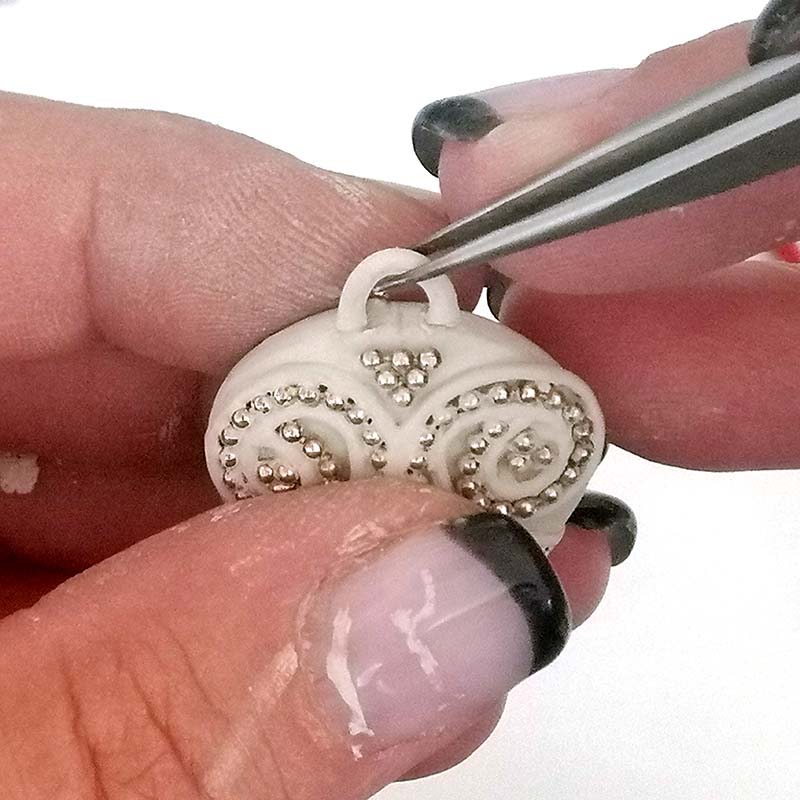
Adding pre-made pieces, like bails or findings, is yet another way to utilize dry construction. This is useful if you are not sure what kind of bail to use when you first start a piece and decide to add it later. Other parts can be made in advance to attach with the dry construction method. These might include pre-made bezels, jump rings, pre-set stones (CZ’s), and decorations such as balls, flowers etc. This way, you can make different parts in advance to add to any project as needed. It can also be a huge time saver allowing you to make a part at a time rather than having to do an entire project all at once.
One way to increase the strength of dry or fired connections is to use special liquids. Sherri Haabs’ Pastemaker and Aussie Metal Clay’s Clay Stay are just two examples. These can be used with the lump clay or slip to make a stronger paste to connect dry or fired attachments.
Clean-up is easy when using dry construction. You can remove the excess wet clay with a water brush, a paintbrush or just blend it in to nearby seams with a clay shaper to make for a stronger connection. If the piece is delicate, you can wait until it is fired and remove excess clay with finishing tools used with a Dremel or Flex Shaft. In general, however, doing most of the finishing at the dry stage is easier than waiting to refine things after firing. Sanding and filling in gaps are easy in the dry stage. Finishing is also easier to do before assembling and connecting each piece.
By completing a piece at a time, you don’t have to start over with an entire project if you make an uncorrectable error on a smaller part. It can also be easier to create a range of finishes that will withstand assembly; textures, shine, bezels for stones, and more. Using dry construction techniques means there is less chance of damaging your work as you assemble it than if it is wet.

