Embedding Metal in Metal Clay
Directly implanting milled or cast jewelry findings seems like the perfect way to add delicate jump rings, connectors, and stone settings to your metal clay designs, right? And it is! If you understand the science involved and make sure to follow some basic rules.
Pre-formed, commercially manufactured elements such as bezels, prong settings, bails, eyelets, or wire can all be embedded in either fresh or dry metal clay to add movement, make connections, or hold another element in place.
The great thing about metal findings is that they can be directly set in metal clay and fired in place, saving you from having to solder. They do, however, have to be carefully added to ensure they remain secure. As long as the metal type you want to embed can withstand the temperature the clay requires to sinter and won’t adversely react to the clay type, you’ll be able to use it in your piece.
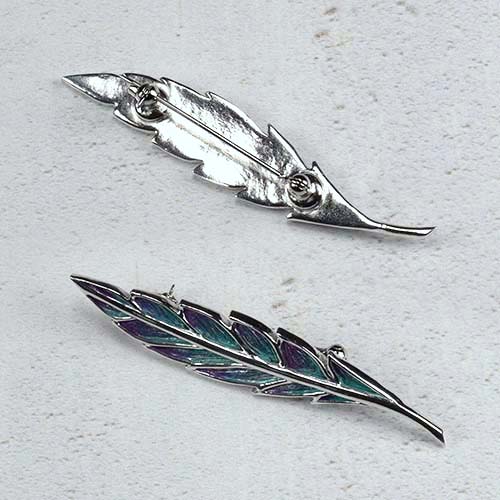
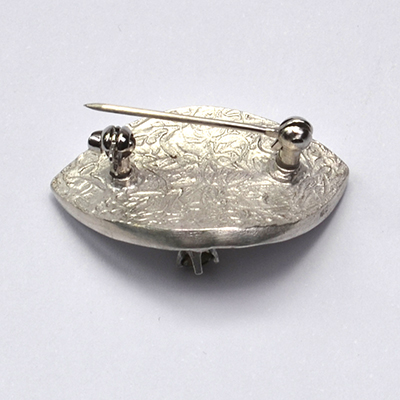
Embeddable brooch finding, Leaf Brooch by Sian Hamilton
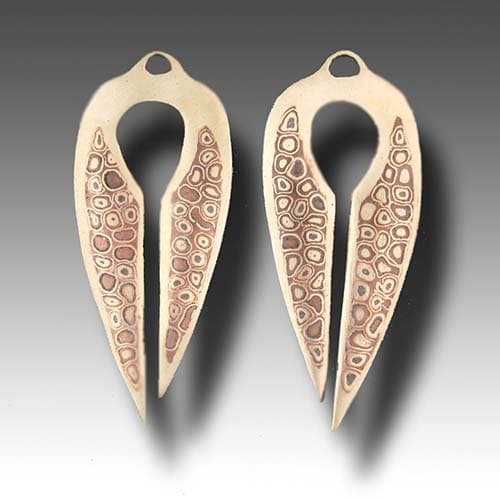
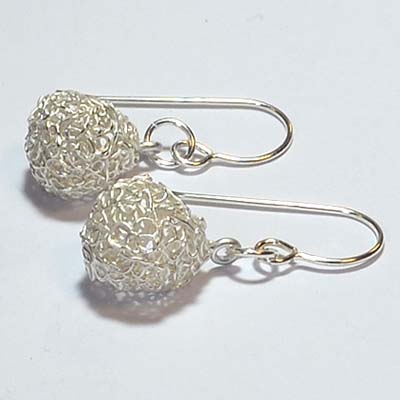
Paula Mcdowell, Mokume earrings
About Temperatures and Alloys
Every metal melts at a specific temperature and each kind of metal clay sinters at a specific temperature, so you’ll have to do a little research to make sure that the two you choose will play well together. Of course, it’s safest to co-fire the same metals. Copper metal clay and copper wire, silver metal clay and silver wire, etc.
Metal melts from the inside out. First the crystalline structure changes, and then when it reaches the flow point the metal becomes a molten blob. This is especially important to know about sterling silver if you are embedding sterling silver wire or sterling silver embeddables in clay; you should choose low-fire clays. Fired above 1300ºF, it may come out of the kiln looking fine, but since the structure has changed, it is actually very brittle and will eventually break.
Copper or copper-bearing metals like bronze, and any type of silver should (almost) never be used together, whether in metal clay mokume gane or when implanting hard metals into metal clay. This is especially true with rings, less so with other jewelry forms. Copper and silver have what’s called a galvanic reaction and the copper will eventually corrode at the connection point. Read more about galvanic corrosion in this article by Jim Binnion.
Co-Firing Fine Silver Findings
Fine silver wire, bezel wire, bezel cups, findings, or anything made of fine silver can be co-fired with fine or sterling silver clay without any changes in firing time or temperature, up to 1650°F (900°C) for 2 hours.
Fine silver findings
Sterling silver findings
Co-Firing Sterling Silver Findings
Sterling silver findings can only be co-fired with low fire fine silver clay but will need to be properly prepared and care must be taken in the firing. Do not fire sterling silver findings over 1300°F (705°C) or for more than 30-60 minutes.
About the Trade-Offs
When you fire sterling silver wire in low fire fine silver, you’ll have to compromise your work in one way or another. Sterling wire is definitely stronger than fine silver wire, but it will have to be fired at about 1300ºF (705ºC), which means that the metal clay design will not be as strong and dense as it would be if you fired at 1650ºF (900ºC).
Although fine silver wire can be fired to 1650ºF (900ºC) which is better for sintering, it’s a very soft and pliable metal that cannot be hardened, so you’ll probably want to use a thicker wire than you otherwise would. For instance – if you were implanting fine silver milled metal prongs, pushing over 18-gauge wire will be a little more difficult than pushing over 20-gauge wire, but it can be done.
Depletion Gilded Sterling Silver
Depletion gilding sterling silver wire or findings before they are implanted will bring a skin of fine silver to the surface of the metal which will prevent the discoloration of oxidation, but it will do nothing to protect the sterling from melting, so always remember to co-fire sterling at low temperatures. To depletion gild, first heat the sterling silver with a torch until it turns a dark charcoal grey. Then soak in pickle to dissolve the oxidized copper from the surface (the surface will appear white). Repeat this process until the surface of the metal no longer oxidizes. For small items such as wires, eyelets, and stone settings, two rounds are usually enough. For larger pieces, three or four rounds may be required. Rinse the pickled item before embedding or pasting it onto the metal clay component.
Co-firing other metals
Titanium can be fired in place with some metal clays. When firing, you should not exceed 1500°F (815°C) or the titanium could become brittle and break. Titanium alloys may have lower temperatures at which they become brittle, so if using an alloy, test firing is recommended.
Steel is a popular material for findings, especially ear posts. As there are many varieties of steel available, test firing before embedding them in the clay is recommended. Galvanized steel should never be used, as it is coated in zinc, which is toxic when heated.
Kanthal A-1, Surgical Steel (304), Nichrome, and 316 Stainless Steel are all types of steel that can be fired in place as they’re designed to withstand high temperatures without becoming brittle. Almost all alloys of steel contain nickel, which can cause allergic reactions when coming in contact with the skin and may not be legally permitted for use in jewelry in some countries.
Making It Shrink-To-Fit
Metal clay will not automatically fuse to other forms of metal, so you have to make sure there is a mechanical capture. This means that the metal clay must be able to shrink and grasp the metal in the same way your fingers and thumb grasp the handle of a hammer.
- Using Manufactured Findings
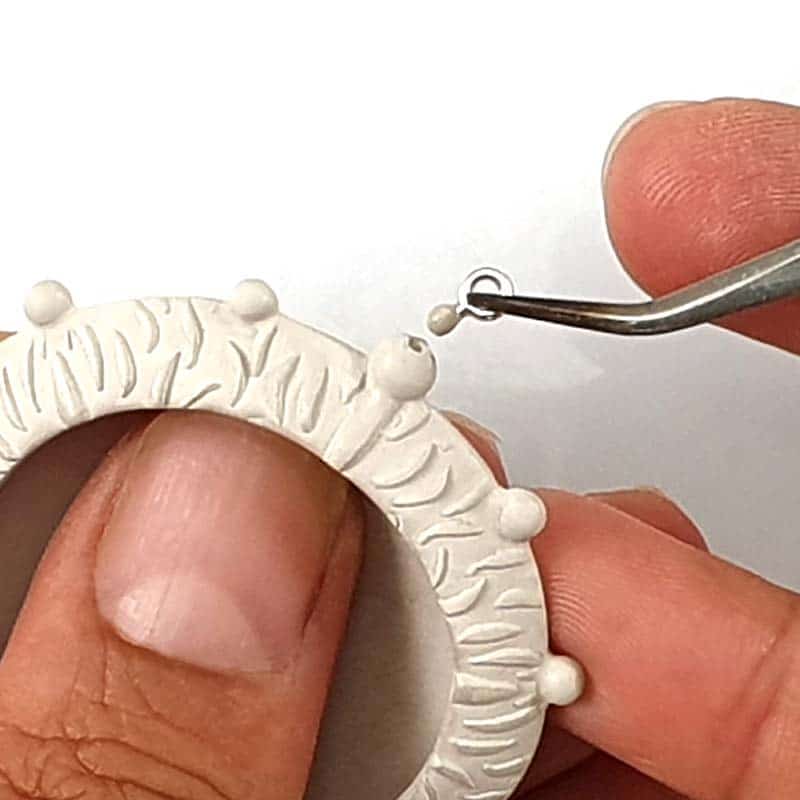
Commercially manufactured embeddable findings are cast findings that have been created especially for metal clay. Made in fine silver, copper and bronze they are available in a number of shapes and sizes. Eyelets and bails look a little like lollypops, with a screw-like handle that is meant to be fully buried in the clay. Prong settings have tabs, and bezel cups have holes to make the metal clay connections more secure.
- Using Milled Metal
Milled metal is so smooth that you need to create a way to prevent it from working its way out of its setting over time. One way to alter the portion that will be implanted into metal clay is to cut shallow notches with a file or scratch it up with coarse sandpaper. Giving the surface some ‘tooth’ allows the microscopic grains of metal present in metal clay to shrink into the depressions of the scratches or notches on the implant. You could also flatten round wire with pliers or a hammer to spread the metal into an axe-like profile. Flattening the ends of wire before embedding it in metal clay, creates a kind of lock and key system and leaves almost no trace of the connection since the buried wire has been flattened but the visible portion is still rounded.
- Making an Eyelet
Use wire wrapping techniques to form a handmade ‘lollypop’. Make sure the end of the loop wraps around to touch the ‘handle’ of the wire. Fill the connection point with a tiny ball of lump clay, or a dollop of paste. This will help to ensure that the loop stays closed after firing.
Setting the Finding
Commercially manufactured or handmade metal elements can be inserted directly into fresh metal clay or can be added when the design has had time to dry.
- If you push the item into a slab of fresh clay, the clay will have to be thick enough that the ‘handle’ is fully surrounded by clay. Remember that as the metal clay shrinks while firing, the structure of the handle may become visible.
- Carve or dig a groove into dry clay that is just wide and long enough to set the finding in.
1. Paint a little slip into the groove
2. Use tweezers to place the finding in the groove
3. Add a one to two card thick appliqué of metal clay to cover the top of the finding – kind of like a blanket.
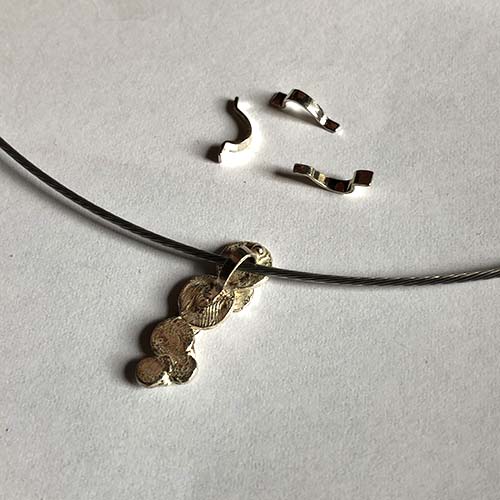
20-Gram Collection, Double Pendant by Paola Mattioli
Finishing and Refining
Metal clay shrinks away from an edge, so as the work dries, a gap may develop between the metal and the clay. Always check your work before firing and use lump, syringe, or thick paste to fill gaps and smooth connections. Make sure that the fill material covers the lower portion of an eyelet – whether it’s handmade or a manufactured embeddable.
If you embed sterling silver wire into metal clay to make earring posts, they will anneal during the firing process. This means they will be too soft to use as viable earring posts for studs until you harden them. The best way to harden annealed sterling posts is to twist them. Grip the top of the earring post with pliers and twist them a quarter turn. Move the pliers down the post and grip it again halfway down. Make another quarter turn. Then grip the whole post from the bottom and turn again. Test the post to see if it’s hard enough not to bend when used. If it’s still a little soft, repeat the twisting process again until the post is hard enough to form a viable post.
So – when metal clay bails and connecting loops seem like they would be too large or bulky and soldering jump rings or prongs isn’t an option – try to use embedded metal elements instead.
Embedded brooch pin
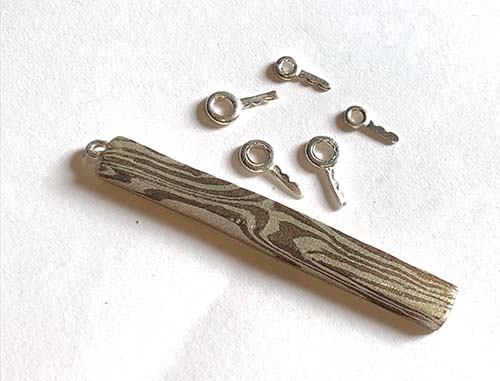
Embedded eyelets on earrings
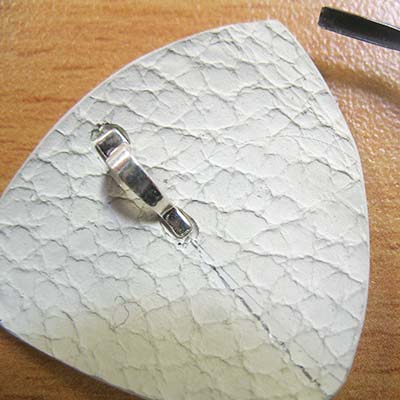
Embeddable bail back

