Search

Hollow Forms in Metal Clay

What is a Hollow Form? In jewelry and sculptural terms, a hollow form is “a shape or structure with an empty space inside.”

One of the great advantages of metal clay is its ability to be formed into almost any shape with relative ease compared to traditional precision-driven metalsmithing techniques. This creates the opportunity to design three-dimensional forms such as beads, lockets, and even sculptures at your worktable instead of in a heavily equipped machine shop.

1A1, Loretta Hackman, Loretta Hackman

In most cases, a hollow form is created by combining dry greenware elements that have been formed and dried over a three-dimensional support structure. Making complex unsupported hollow forms requires designing, constructing, and joining these dry elements into a sturdy, cohesive whole.

Think of it as a reverse-engineering puzzle. Create a multi-view sketch of how you want your design to look (front view, back view, side view, top view). Then deconstruct the design, thinking in terms of the pieces that need to come together to create it. Now look at the shape of those individual elements. Circular domed elements might need a marble, ping pong ball, or lightbulb to form the wet clay and support it as it dries. A tubular or arced rectangular element might need a cylindrical support such as a straw or straight-sided glass jar. More complex or unique shapes might be formed over polymer clay or even wire armatures. Note that all of the aforementioned support structures must be removed following the greenware stage and before construction, so it is essential for the pieces to be designed in such a way that the supports CAN be removed.

In other cases, support materials may remain within the piece during construction but get burned out in the kiln. These include materials that burn out cleanly and safely such as cork clay, wood clay, paper, or organic materials. Although these burnout elements may leave an ashy residue, this ash can usually be easily washed out after firing. When firing burnout pieces, temperatures must be carefully controlled to ensure that burnout is complete prior to sintering. A programmable kiln and two-stage firing are needed to provide this level of temperature control.

There are several different ways to create hollow forms in metal clay and beautiful projects are described in detail in the AMCAW member tutorials on this website (see the list at the end of this article). From simple to sublime, here are a handful of wonderful examples that will cause you to look ‘inside’ these pieces and begin to imagine how to create your own.

Cylindrical Supports

Artist Loretta Hackman, Photo Artist’s own

Straws

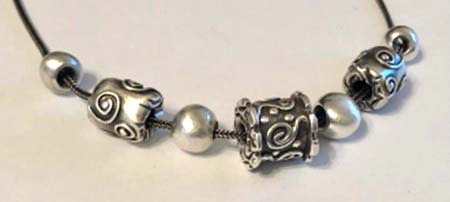
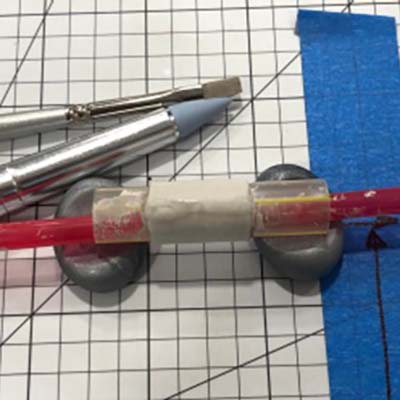
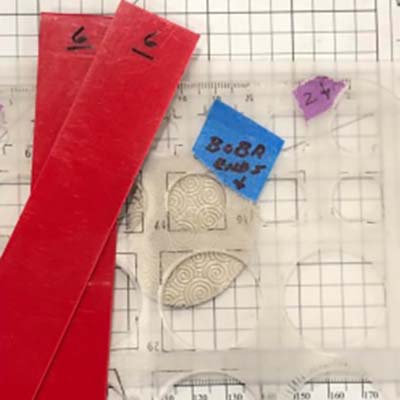
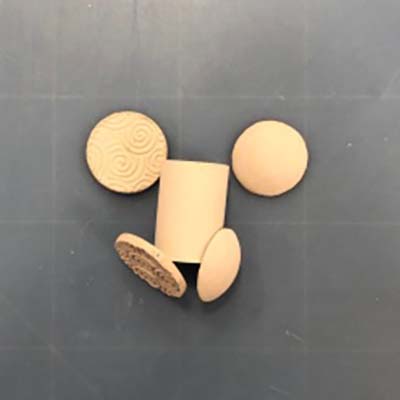
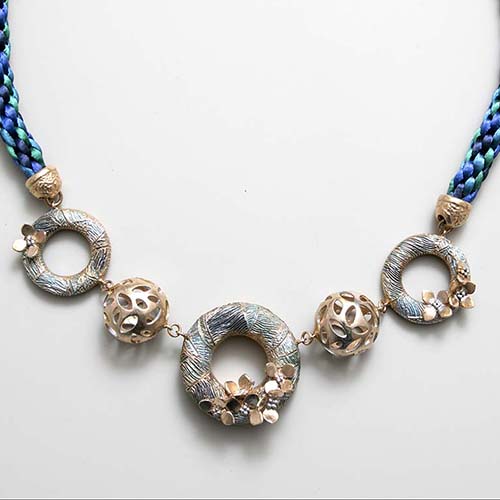
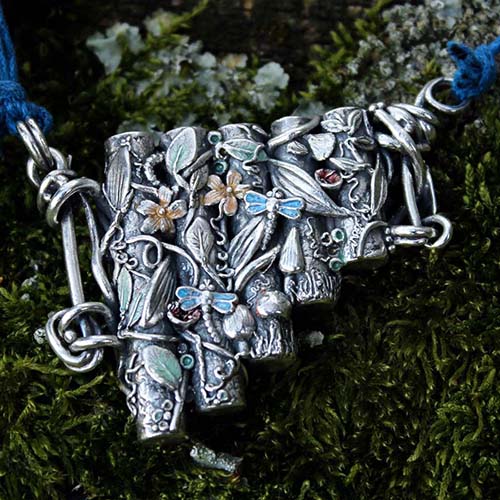
One of the easiest and most readily-available cylindrical supports is the simple straw. The bodies of the cylinder beads in this necklace are formed and dried over sections of a large straw (such as you get with an Asian tapioca ‘bubble tea’ drink). The process is much like forming a ring over a mandrel. The straw is removed when the beads are nearly dry, and the endcaps are added after drying. To prevent the beads from roaming around in the kiln, fire them either in a bed of fine vermiculite or nestled in fiber blanket.

short section of curled wire
Short wire section with bent end
wire set inside a silver clay cup
wire pasted inside a silver clay cup

Glass Jars

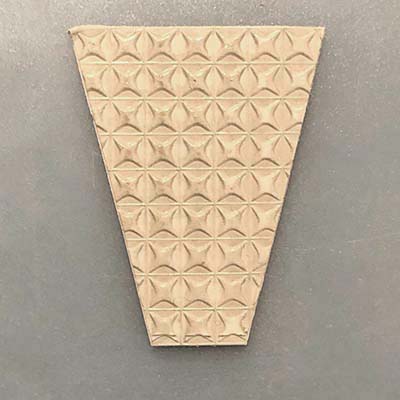
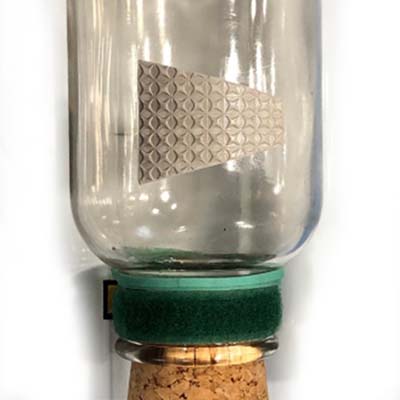
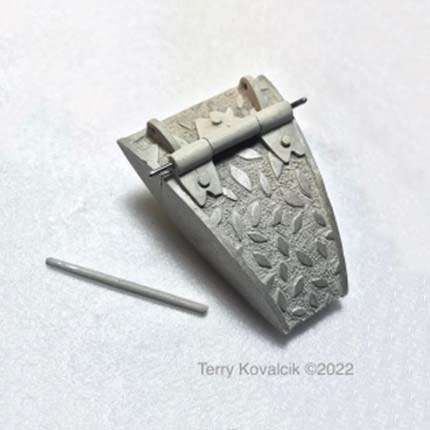
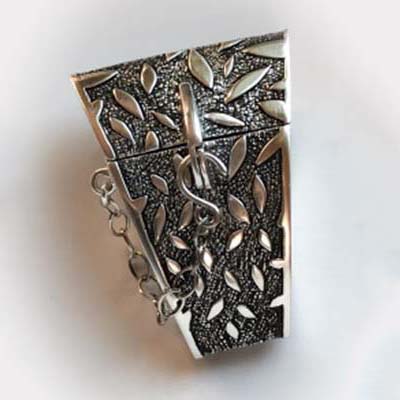
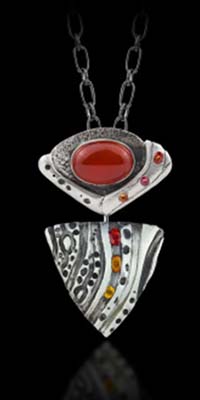
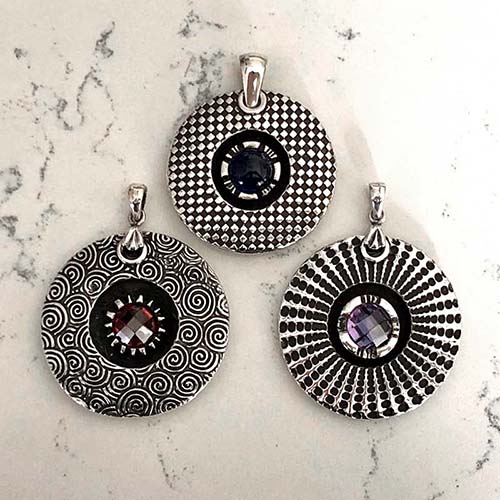
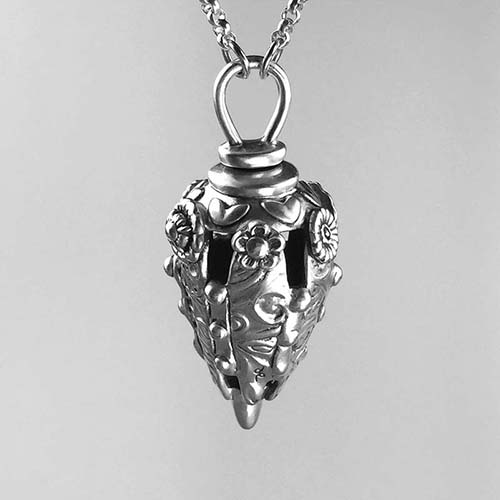
Examine this elegant, hinged pendant. The textured wet clay for the arced front and back panels for this piece is cut to shape, then domed over a simple cylindrical shape, such as a large jar. Once dry, the two curved pieces are attached together, creating a marquis-shaped hole (a tapered oval with points at both ends… like a simple petal). The side panels are then slab-formed flat and cut to perfectly match the marquis-shaped edges. Clearly, much more work follows, but the important point is that this is a complex project formed over a simple readily available shape.

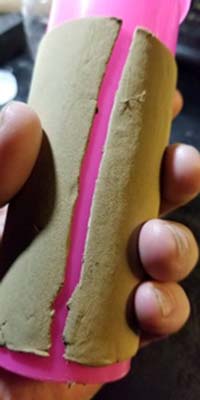
Look around your home for shapes. A peanut butter jar. A shampoo bottle. A fondant mold. A rolling pin. All are cylindrical candidates for creating either tubes or arced hollow forms in metal clay.

short section of curled wire
Short wire section with bent end
wire set inside a silver clay cup

Artist Terry Kovalcik, Photo Artist’s own

wire pasted inside a silver clay cup

Artist Terry Kovalcik, Photo Artist’s own

Domed Supports

Consider the hollow forms that might be created using different support structures: a plastic egg, a teaspoon or soup spoon, a plastic goblet, or other items that you may find using domed shapes from your home or office. There are some wonderful three-dimensional pressed metal and plastic forms that are available through art and craft suppliers and kitchen supply stores. If these forms are perfectly symmetrical from top to bottom, they may be good candidates for creating hollow forms with metal clay.

Lentil

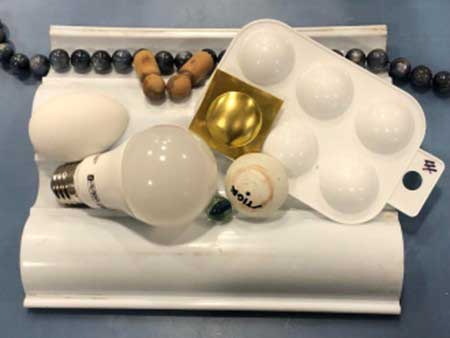
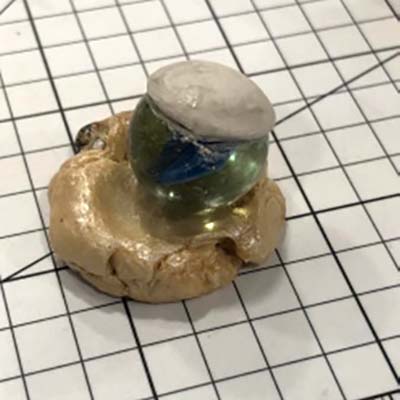
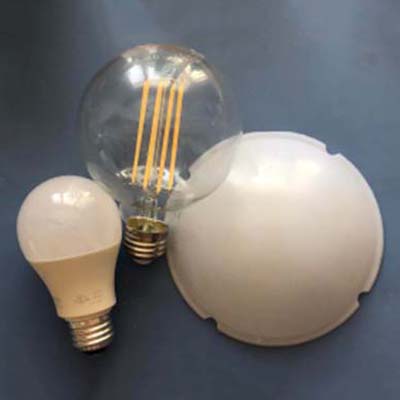
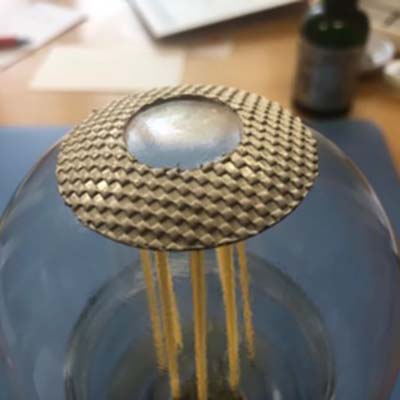
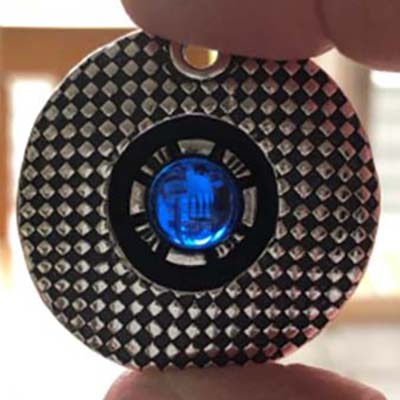
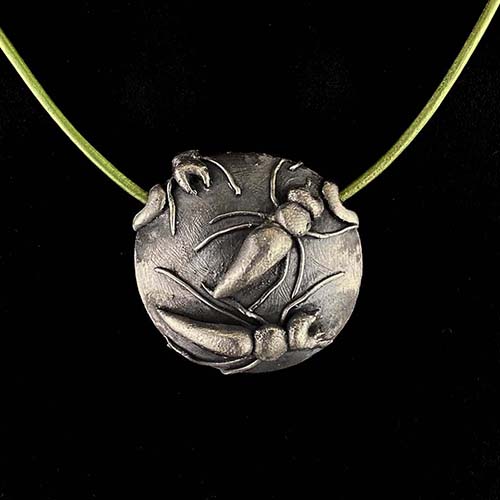
The simple lentil is a popular form in jewelry designs. Domed on both the front and the back – imagine two shallow bowls facing one another at their rims like a clamshell – the lentil is easily formed over a spherical shape, for instance a marble; a ping pong ball; a domed painter’s palette; a lightbulb; a tap light dome. The size of the sphere dictates the shallowness or depth of the lentil form.

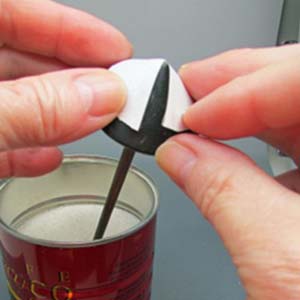
In creating a symmetrical lentil, it is very important to carefully sand the circular rims of the domes to be both absolutely flat and precisely the same size before attaching them together. This is easily achieved by placing a piece of coarse sandpaper face-up on a table surface and gently sanding the dome’s edges using a figure-8 pattern. After every five passes, rotate the dome 90-degrees and continue sanding, then repeat until the edges are uniform and sharp. When the edges of both domed elements are crisp and sanded to match, you are ready to attach them together using slip.

By Annemarie Klappe
By Annemarie Klappe
By Annemarie Klappe

Artist Loretta Hackman, Photo Artist’s own

Other Shapes

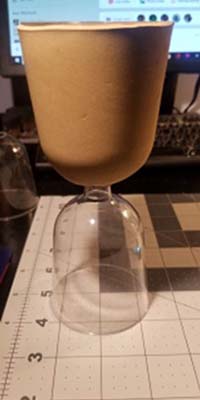
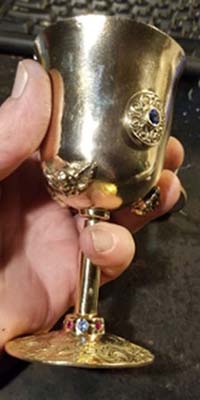
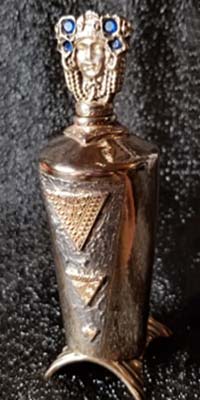
Consider using a disposable plastic wine glass to create a goblet. Or a tapered plastic container to make an Egyptian-themed bottle. Don’t feel limited by what you already know how to do… challenge yourself to discover what you CAN do.

NOTE ON METAL SUPPORTS: Do not use aluminum (aluminium) to create any support structure for silver clay. Prolonged contact between wet silver clay and aluminum creates a contamination reaction that can result in discoloration, warping, flaking, and brittleness in your finished piece. Copper and brass support materials work well and are readily available.

short section of curled wire
Short wire section with bent end
wire set inside a silver clay cup
wire pasted inside a silver clay cup

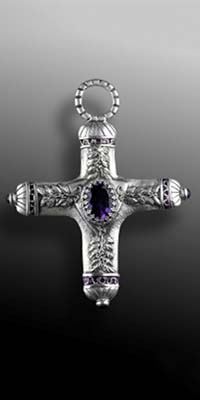
Left to right  (mobile: top to bottom) Artist Images 1, 2, 3 & 4 Michael Galvin (Photos, Artist’s own), Image 5 & 6 Janet Alexander (Photos, Doug Baldwin). 

YOU-Nique Support Shapes

What if you can’t find the shape that you need for a project that you would like to create over and over again? Consider creating the form yourself from either polymer clay or two-part silicone mold material.

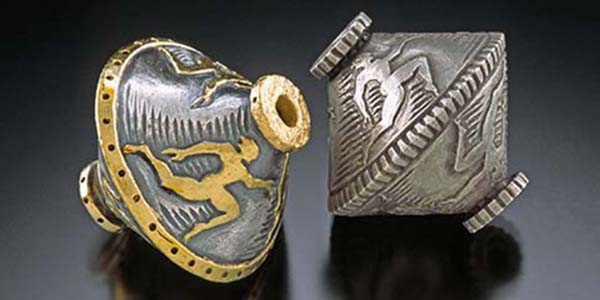
VERY IMPORTANT:  it is unsafe to even consider firing plastic or polymer-based items inside your piece. Their fumes are toxic and the materials can leave a nasty unremovable residue in your finished piece. As shown in the following Geometric Shapes section, plan to form your back-to-back hollow form structures in two separate elements on polymer clay. The dried elements are then removed from the polymer clay and joined together creating an empty hollow form.

Geometric Shapes

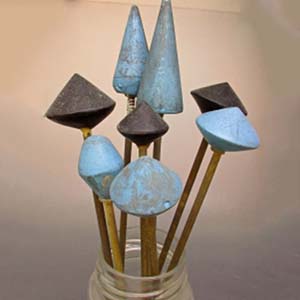
Generally speaking, polymer clay is a readily available material that can be used to create shape-and-bake support structures. Sculpey and Premo are two brands that can be found in crafts stores. Remember, you’re creating the shape of the INSIDE of the piece, so keep this simple.

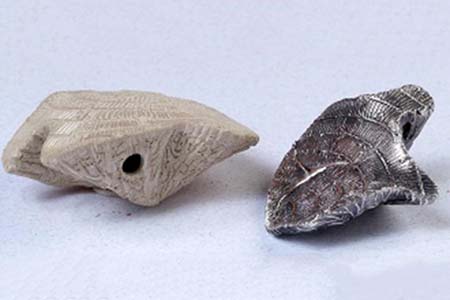
Create your desired interior form in polymer clay. Bake the clay in an oven (not a kiln) according to the manufacturer’s directions. Polymer clay is usually cured in an oven at a fairly low temperature and baking time varies with thickness. Once cool, sand and smooth the polymer clay surfaces to ensure easy removal of future metal clay elements. If desired, drill a hole to add a stick to your newly-formed prop. Shape your metal clay over the polymer clay prop and dry; repeat for the other side, if desired.

NOTE: two-part silicone mold material may also be used to create support shapes. Although the forming time is shorter for this material, it has the advantage of not needing heat to cure.

short section of curled wire

Artist Barbara Becker Simon, Photo Larry Sanders

short section of curled wire

Artist Holly Ginsberg Gage,
Photo artist’s own

Curiously Specific Shapes

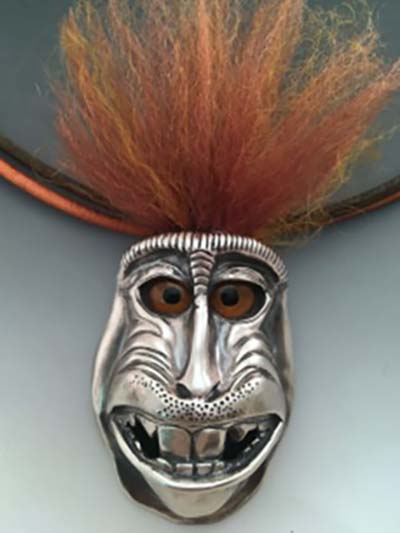
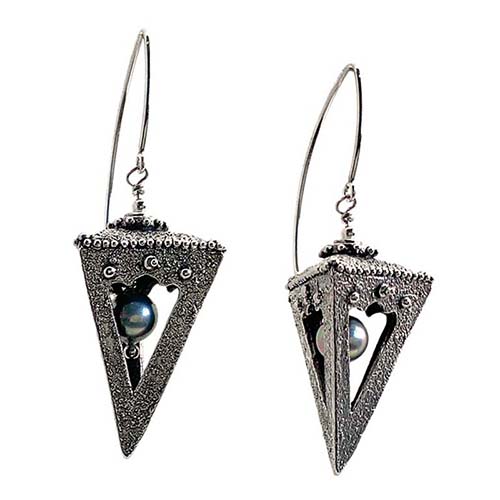
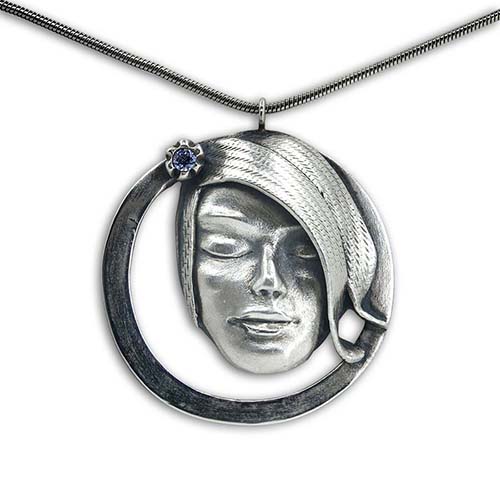
How would you create the substructure for an orangutan face? In this case, a thickish slab of polymer clay is formed to create the three-dimensional ‘musculature’ of the face (flat on the back; dimensional on the front). The shape at the top is roughly rhombic. The chin area is more of a softened triangle. A thin ridge provides a support for the nose, which will be detailed and perfected in metal clay. Add divots for the eyes and mouth. The polymer clay substructure is then baked before finally smoothing it. Now it is ready for shaping the wet metal clay. Note that much of the dimensional detailing for this piece is added after the metal clay ‘skin’ is formed. Also, note how differently the artist has treated the back of the piece. It is a straightforward but elegant flat textured piece of clay. As long as the bottom edges of the orangutan face are flush with the tabletop, adding the flat back to the elaborately shaped front is a simple process, involving no curiously frustrating angles or infuriating edges.

short section of curled wire

Using Wire As Armature

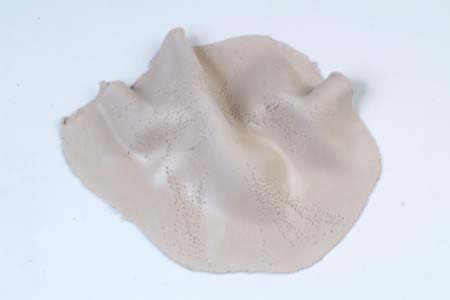
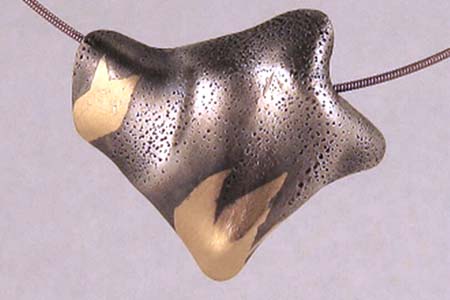
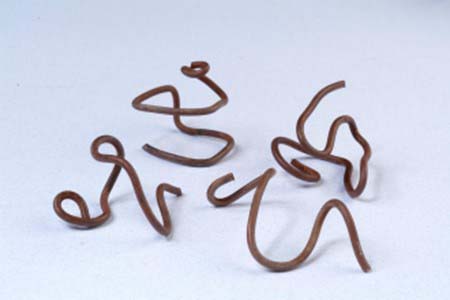
In the polymer clay section, we talked about creating the musculature under the ‘skin’ of a metal clay piece. In this section, we talk about bone structure, using copper wire as a support element. The wire is strictly used as an armature during drying and is not fired as an element inside the clay. This is roughly akin to creating a play fort over pieces of furniture using wire as the furniture and metal clay as the blankets and sheets. 

Using sturdy copper or brass craft wire, form several soft-edged shapes. The shape is up to you, but it is important to ensure that the wire elements are designed to avoid creating undercuts in the clay. An undercut is a protrusion, hole, cavity, or recessed area in the finished piece where its angles and alignment prevent you from pulling the dry finished ‘tent’ off of the support. Tuck the ends of the wire under to ensure that there are no sharp edges poking out that can create holes in the metal clay. The wire elements should be stable enough to:-

  1. sit on your work surface without wobbling under the metal clay,
  2. be designed so that they don’t get stuck inside the drying clay, and
  3. have enough height to create dimensional interest in the finished piece.

Using several smaller wire elements instead of one larger one allows for more ease in removing the supports from the dried metal clay. To test the viability of the visual appearance of the finished piece, place a piece of damp paper over the armature. This will give you a sense of the shape and size needed for your metal clay slab. Once you have a satisfactory arrangement, gently negotiate the wet metal clay over the wire substructure. Cut the excess clay away from the edges, ensuring that all edges still touch the flat work surface below. This will allow you to use a flat piece of metal clay as the back surface of your piece. Once the dynamic front surface is dry enough to hold its shape, remove the wire armature elements. Attach the dry front and back sides using slip. Drill holes for a chain or wire and you’re ready to fire.

Do not use aluminum wire to create armatures (contamination issues are discussed in the Domed Supports section above). Copper or brass wire work well.

By Annemarie Klappe
By Annemarie Klappe
By Annemarie Klappe
By Annemarie Klappe

Artist Barbara Becker Simon, Photo Rob Stegmann

For a One-of-a-Kind Piece, Think Burnout!

short section of curled wire

Artist Loretta Hackman, Photo Artist’s own

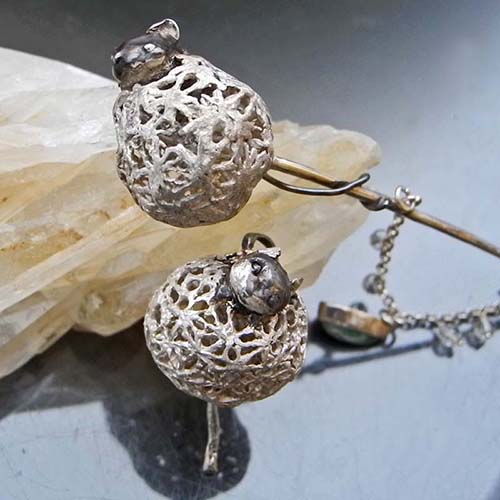
What are we referring to when we talk about ‘burnout’ and metal clay? Burnout refers to the choice to design with a combustible material inside a piece with the intention of having that material burn away in the kiln during firing. The burnout material supports the metal clay during the forming and greenware process but is not part of the finished piece.

Materials that are commonly used for burnout are cork clay, wood clay, paper, dried pods, dried twigs, dried acorns, dried pasta, cereal, cookies, anything that can burn safely and leave little or no residue. NOTE:  the word dried appears regularly in this list. It is essential that the material that you use for burnout is absolutely devoid of any moisture. Trapped moisture creates steam in the kiln, creating extreme forces of pressure inside your piece. This pressure can cause a piece to distort or even explode in the kiln.

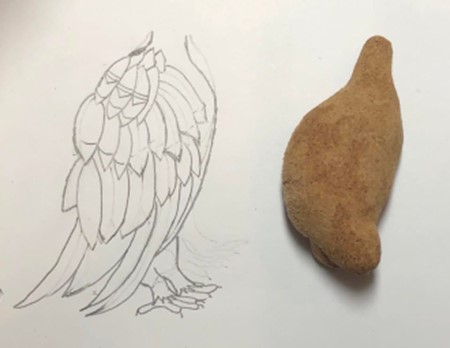
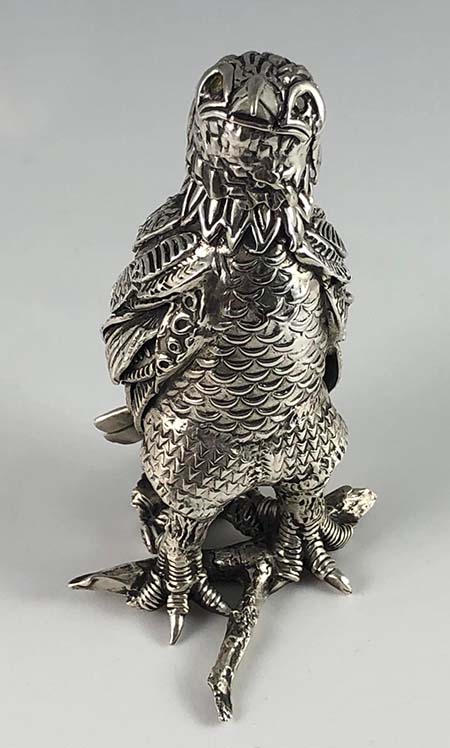
The glory of using burnout material is that you can size and shape it exactly as you wish. The photos here depict the artist’s journey to create a whimsical young eagle using cork clay as a support structure.

The challenge of using burnout material with metal clay is two-fold. As previously mentioned, the material must be absolutely bone dry prior to covering it with metal clay. Secondly, the burnout material must be allowed to completely combust in the kiln PRIOR TO SINTERING. This is crucial and involves incorporating a lower-temperature burnout step in your firing schedule.

Ideally, you slowly ramp (800°F/425°C ramp) the kiln temperature to a burnout temperature of no more than 800°F/425°C. Hold at that temperature for at least 30-minutes to ensure complete combustion of the burnout material, then ramp up to sintering temperature. If the lower-temperature burnout step is skipped and the kiln is allowed to heat up at full ramp, the heat of combustion added to the quickly ramping kiln temperature can cause two problems:- 

  1. the metal clay may experience so much heat during combustion that it begins to melt, and
  2. sintering and shrinkage may begin to occur before the burnout element is completely gone, resulting in cracks and potential distortion of your piece.

Torch-firing or hob-firing a three-dimensional piece containing burnout material is NOT a safe option. Note that burnout material generally leaves an ash residue behind. This is normal. The ash can usually be removed after firing if holes or openings are designed into your piece.

Important Point to Consider

Joining Seams and Edges

Sintering and shrinkage create stresses at seams and edges (joins) of hollow forms and merit special consideration. All joined areas need to be especially strong with no gaps or thin sections. When joining edges and seams in the greenware stage:-

  1. dampen the edges with water and allow to sit for two minutes to reactivate the binder.
  2. apply a generous amount of slip and/or syringe clay between the edges to be joined.
  3. at corners, consider blending in small amounts of lump clay to ensure an even stronger connection.
  4. hold the newly joined seams together for at least one minute to maximize the mingling of clay at the join.
  5. when cleaning the wet clay and greenware prior to firing, take great care not to remove so much clay that you compromise the strength of the seam.

Setting Stones in Hollow Forms

Sometimes, due to their inherent strength, domed hollow forms can be made slightly thinner than you might ordinarily consider. However, if you are planning to add fire-ready stones to your piece, it is imperative that you have enough clay under and surrounding the stone to prevent it from falling into the space behind it. Consider either making your piece thicker to accommodate the structural needs of the stone or, at a minimum, add extra clay either behind the stone and/or around it to create a secure stone setting. It is most unpleasant to fire a fabulous piece and lose the stones into the void.

Vent Holes

Some pieces, such as beads and some pendants, have holes naturally included in the design. But is it necessary to incorporate holes in hollow forms? If there is a chance that the piece will be reheated following the initial firing (to solder or perhaps add more metal clay elements), it would be wise to include a hole in the design. Reheating a fully enclosed piece expands the air in the enclosed space, which can cause seam damage. Holes are also important if you intend to clean out ash following the use of burnout materials.
Firing Considerations

Hollow forms are often interestingly shaped and can present firing challenges.

Plan ahead to use vermiculite, kiln blanket, or some other support material when firing silver.

  • Consider firing the shaped side of the piece face-down in the support material instead of firing flat-side down to promote uniform shrinkage.
  • If you choose to fire a larger piece flat-side down, consider placing a piece of Bullseye ThinFire Shelf Paper on the kiln shelf under your piece before firing. The ThinFire paper turns to a fine powder during firing and allows the clay to slide across it during sintering. This minimizes distortion during sintering.
  • For base metals, the carbon itself can support the underside of your piece while a cage built over it may protect the top surface from damage.
  • Larger pieces may crack at the edges or joins during firing. This is not a major problem. Repair the piece and refire.

Tumbling

Hollow forms with holes (such as beads and small lentils) can fill with shot during tumbling. This is often difficult to remove. To prevent this, before tumbling, slide a pipe cleaner through the holes and twist the ends on the outside so that the pipe cleaner doesn’t slip out during tumbling. Tumble as usual. Shot may still get into your piece but removing it will be much easier after you withdraw the pipe cleaner. If possible, consider making your holes a bit larger before firing to make shot removal even easier.

Dive into designing metal clay hollow forms… ‘space’ is a fabulous frontier!

AMCAW Member Tutorials

Check out the member’s only tutorials that use hollow forms.

Look-at-Me Lentil
Loretta Hackman

Upright Tooth Fairy Box
Monica Weber-Butler

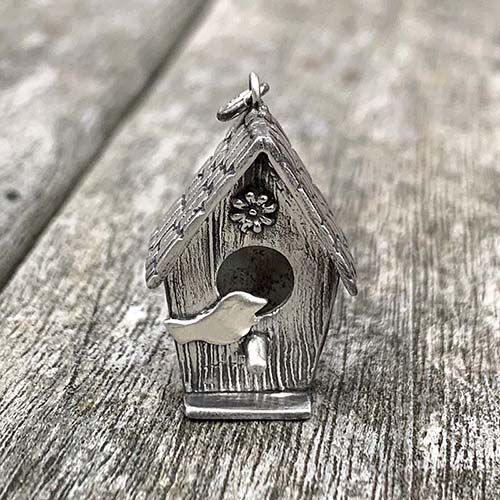
Bird Box Pendant
Lisa Johnson

Hydrangea Necklace
Irina Vasilieva
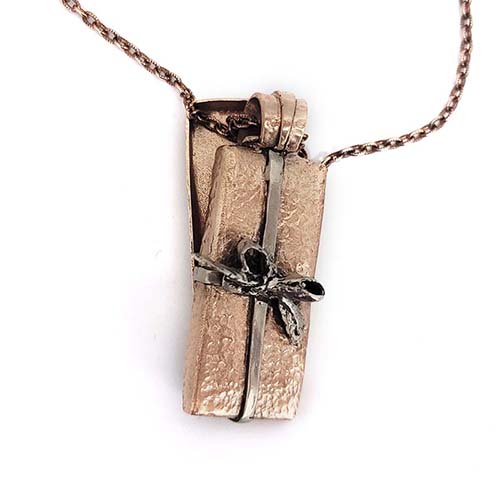
All Wrapped Up
Pam Feindel
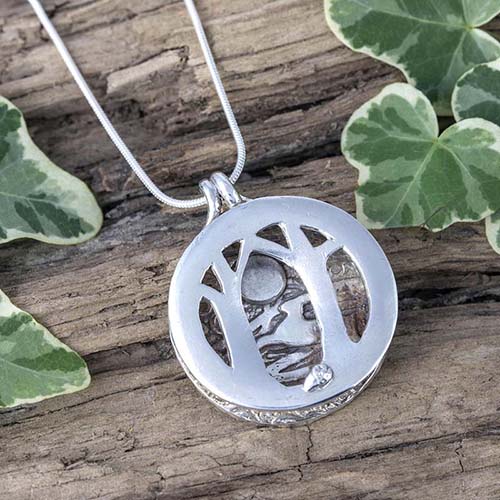
A Walk In the Woods
Helen Drye
Lantern Earrings
Tracey Spurgin

Sculpture and Carving
Corina Gheorghe

Dandelion and a Mouse
Iwona Tamborska
Call Alice
Joy Wignall
Colony Pendant
Barbara Becker Simon

Pan Pipes
Marianne Donohoe

Swivel Pendant
Donna Penoyer
Screwtop Box
Julia Rai
Double Pendant
Paola Mattioli