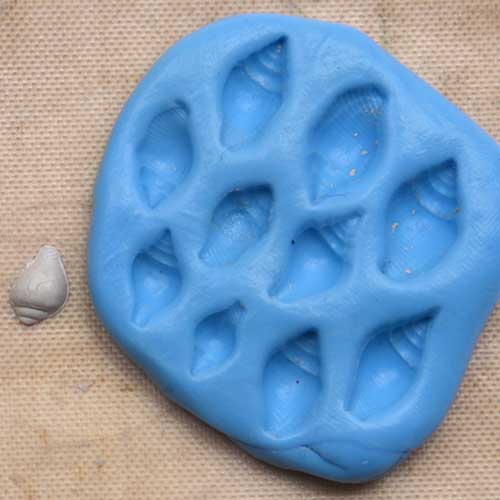
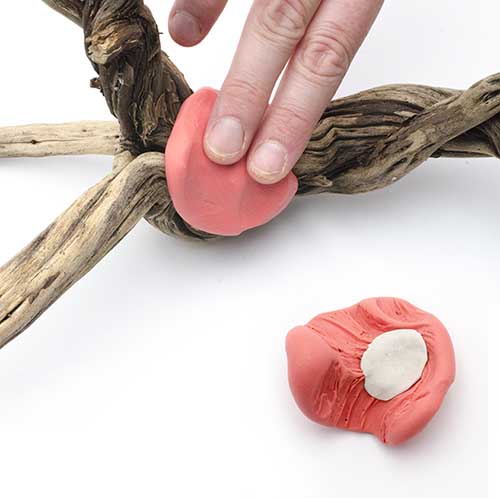
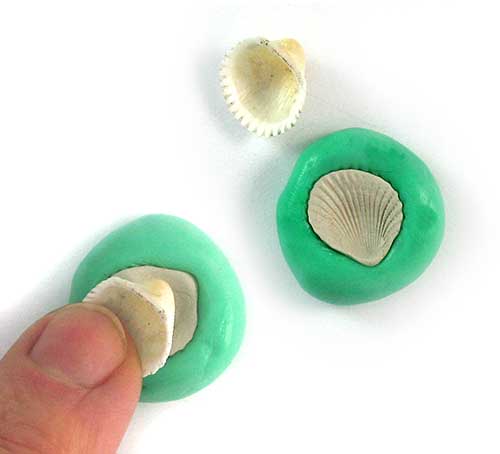
If you have too little to fill the whole surface of the mold, adding to it can create a line in your finished piece so it’s better to start again. If you have the surface of the mold covered and only need to add thickness, you can generally add another layer of clay with no issue.
You don’t have to fill the mold or use the whole molded design when making your metal clay piece. You may want to mold parts of things or purposefully use too little clay to create uneven edges. You can also use clay that is a slightly dried out so it cracks a little, creating an aged, worn look. These are a few ways to create unique and one-of-a-kind pieces from molds so experiment to get the result you want.
For large or flat molds, it may be easier to start with a thick slab of metal clay and use a soft rubber-tipped or rounded tool to press the clay into the mold. As with the rounder pieces, start in the middle and work outwards. This keeps air bubbles from getting trapped in the mold and causing voids in your design.
Once the clay is in the mold, be patient. If you remove the metal clay from the mold before it is dry, you must be careful not to damage the impression. If you have the time, allowing the clay to dry in the mold will yield the best results. You can expedite the drying by placing the mold on a drying plate for instance a mug warmer or small griddle. Most RTV materials can support temperatures up to 250˚F (121˚C). Higher temperatures can cause the mold to become hard, lose its non-stick or flex capabilities, or even melt, depending on the brand.
Polymer clay can be over-baked so be careful is you want to speed up the drying, especially on a hot plate. Dehydration is the safest route but can take longer if your mold is deep. For some of these alternative mold materials, it’s best to leave them to air dry for a few days to ensure the metal clay can be safely removed.
When placing the mold on the warmer, place it with the clay down against the warm surface. This allows the clay to get the heat faster and helps the piece to release from the mold more quickly.
Once the back is really firm it’s usually safe to pull the clay out gently. Often the clay will just drop out of the mold. For flexible molds with undercuts, it’s best to leave the piece in the mold until it is mostly dry.
Doing finishing work before the entire piece is dry can also cause problems. If your piece is still damp in the center when you start filing on the edges, the piece could suffer major distortion. Always do the mirror test to detect any residual moisture by placing the cooled piece on a clean mirror for five seconds. When you remove it, if there is moisture on the mirror, the piece is not dry. Place back on the warmer to fully dry.

