Organising the Workspace
Whether you work on your kitchen table, in a spare room, in a shed in the garden or you rent a studio, organising your tools and work area is essential to maximise your productivity and keep things fun. One of the wonderful things about metal clay is that the basic tools can be relatively small, light and easy to store. When you first start working with metal clay, you can keep all your tools in a small box and pack it away when you have finished. This is particularly useful if you tend to grab your working time in small chunks because it’s easy to get out what you need, do a bit of work and then put it away until next time.
Starting out
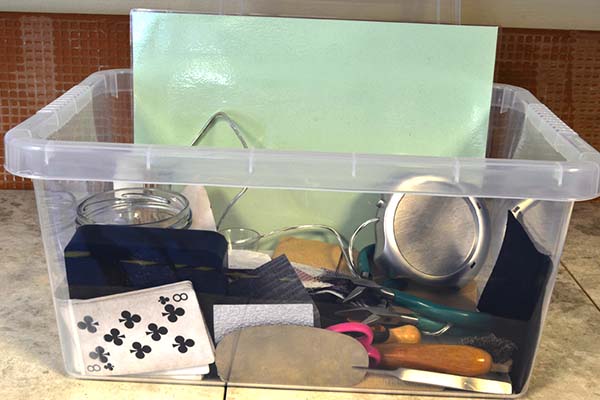
If you are just getting into working with metal clay, the tool kit you need is quite simple. A work mat, roller and some form of spacers, like playing cards, is at the heart of it. Thinking about each working stage – design, wet, dry, firing and fired – allows you to organise your tools into groups specific to where you are in the process. This is important if your space is limited. If you want to organize your tools by stages, consider using three or four smaller boxes that you can put into a larger one, or that stack together – and can be expanded as needed.
Start by getting yourself a box. How big the box is will possibly depend on the space you have to store it. If you know you’ll need to put everything away at the end of each working session, it’s probably best to get the biggest box you can fit into the space allocated for storage. It’s a safe bet that you’ll be adding to the tools you have, fairly quickly, so having more space helps to ensure nothing gets squashed or damaged.
If you are storing your butane torch in the box, you may want to consider a lockable option, especially if you have inquisitive children. An alternative is to store the box somewhere out of sight and high up. And if you know you’ll be putting the torch away while it’s still hot, consider what the box is made of and how close it might be to other flammable or easily melted things you are storing.
A simple box works well when starting out
First Tools
In addition to the work mat, roller and spacers (i.e. playing cards) you will probably want to add the following.
- Design tools: blank paper or blank notebook, pencils, a good eraser, a ruler – to check sizes, and a shrinkage gauge.
- Wet – cutting tools, like blades and pin tools, punches and cutters, ‘clay shapers’, textures – purchased, found or handmade, a small paintbrush and other tools that shape the wet clay.
- Dry – sanding tools, drills (if you haven’t made holes while the clay is wet), a hot plate or dehydrator, a small mirror to check pieces for moisture before heating/firing.
- Firing – a torch or a kiln. If using a kiln, have a kiln shelf, a small bag of fine vermiculite or special carbon available (for base metals and sterling). See more about this below.
- Fired – sanding tools, patina, polishing tools, pliers (for adding jump rings and holding pieces), a tumbler – when you can afford it.
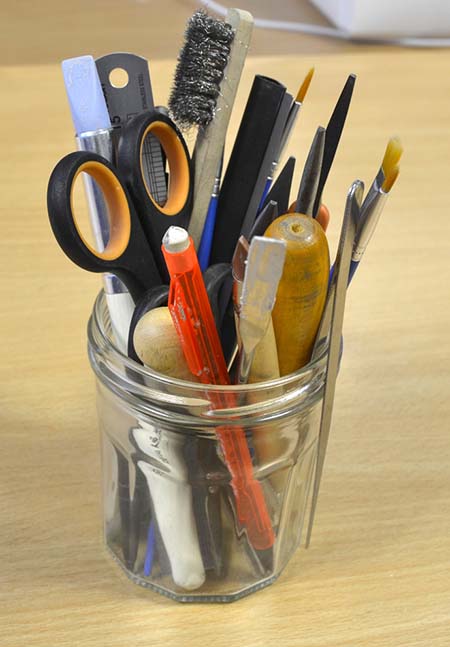
When you are working, it’s useful to have a mug or jar with all your tools, like scissors, craft knives, pin tools, hand drills, paintbrushes, wipe out tools, clay shapers or spatulas. A pot with these tools that can just stand up in your box without having to remove them each time makes it quicker to set up and pack up and ensures these essential tools are always where you put them.
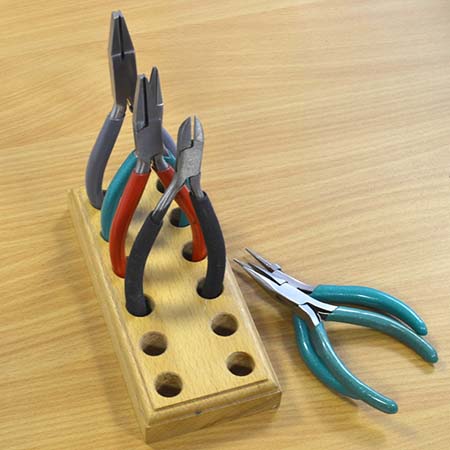
A stand for pliers and cutters is another useful storage option to keep these tools organised. An alternative is to buy a set in a zip up case. These often have elastic straps to keep the tools in place and stop them banging about in the case.
If you are using power tools, a light, a hot plate or dehydrator, you may need an extension cable. Having one that is kept in your box is useful to avoid other members of the family borrowing them! A tower extension block that also has USB charging points can be really useful if you use your phone to take process photos or you just need to be available while you’re working. It also stacks neatly into a box.
A glass jar is good for long thin tools
Commercial wooden plier stand
Organising a growing tool kit
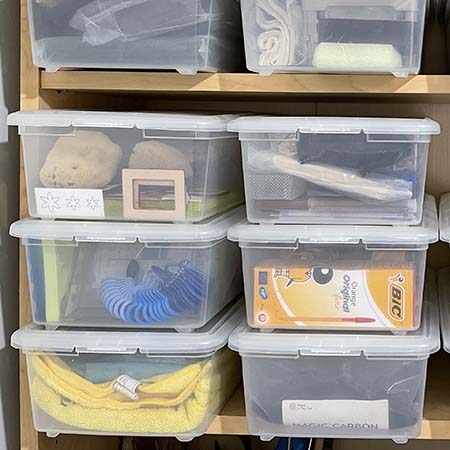
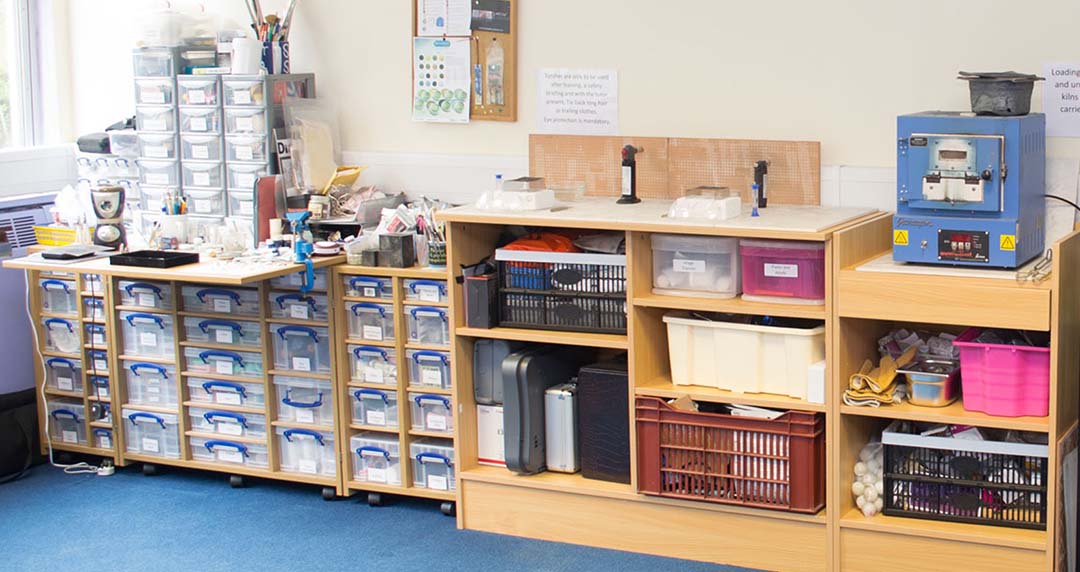
As your experience increases, so will your tools. Creating an area with shelving dedicated to your various tools and pieces of equipment helps you to get things organised. Unmarked boxes can cause major stress when you’re trying to find something so keeping tools in labelled boxes, grouped into things with common usage means you can easily find what you need. Common things you may group are textures, cutters, ring making tools, drills, files, polishing tools etc.
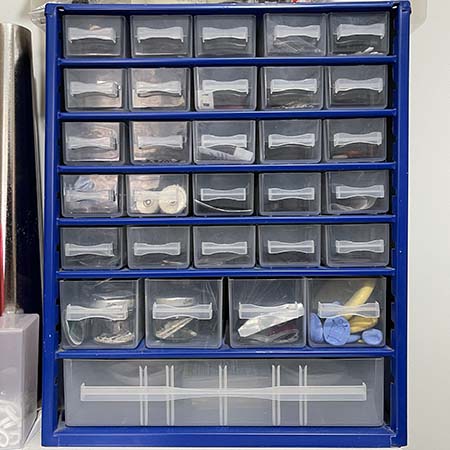
How many boxes you have will depend on the space you’ve allocated to store things. You can also choose different sized boxes that are appropriate to the things you are storing. Small boxes stacked in a frame can hold findings, glass cabs, stones etc. You can buy these at hobby stores. Print labels for them so you can find things quickly. Larger boxes will be needed for ring making tools, especially if you have a sizing stick and a mallet, assorted mandrels etc.
Hardware stores have shelving which can be quite reasonably priced, so you don’t need to buy expensive furniture for this. Look for shelves that are designed for garage or garden shed storage. Some come in flat pack form and are easy to assemble. Measure your space before you buy to make sure the shelves will fit into the space you have.
You can also find small storage racks, drawer storage units and stacking boxes designed for nuts, bolts, screws etc in the hardware store. These are useful for storing small things like jump rings, ear wires etc and can be less expensive if you are on a budget. Hobby shops also have a wide range of storage options.
Storage boxes with lids
Storage unit with drawers
Stacking storage
Specialist craft storage units
There are suppliers that specialise in storage for crafts. If you have a bigger budget and more space, these specially designed units can be a good investment. Large cupboards with doors or units that fold in on themselves to save space can be very useful if you want a quick and easy method of packing things away. They also protect your tools, supplies and work in progress from dust, pets or little hands.
Some of the larger cupboards look like wardrobes and open out to form a storage and work area combined. Work surfaces fold down with legs that flap out creating not just storage but a worktable, all in one easily opened and closed unit.
Craft tables with integral storage are also available and can provide space saving options if you have a room dedicated to your creative work.
Torch gas storage
Butane or propane torches come in a variety of sizes, from handheld units that are filled from a can of gas, through torch heads that screw onto larger handheld gas tanks or attach to floor standing gas tanks with a hose. Small cans of butane which are sold in newsagents and supermarkets are safe to store at home or in the studio, as long as you ensure they are well away from any heat sources. Most of the larger gas tanks that have a torch head screwed directly onto the tank are also safe to keep in the home although you may consider keeping them in a garage or outbuilding for added safety.
Larger gas tanks of butane, propane, oxygen or acetylene should be stored outdoors, if possible, preferably in a locked area or secured with padlocked chain. Bring them in when you are working with them but take them outside again when you’re done. This is a safety measure in case you have a fire in your home or studio. Make sure you put these somewhere safe while you’re using them, so they don’t become a trip hazard.
When working with your torch, make sure that gas cans are well away from the naked flame at the torch head.
Kiln and kiln tool storage
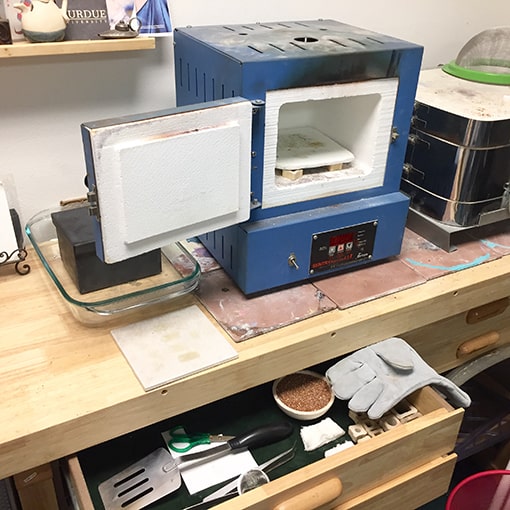
Electric kilns used for metal clay are safe to keep at home. Normal safety precautions around keeping them away from flammable materials, gas tanks and from children and animals should be followed. There are a number of tools you may use with your kiln. The main ones are sometimes referred to as kiln furniture which consists of shelves and posts or risers that allow you to stack shelves in your kiln. If you enamel, you may also have trivets or steel mesh stands which need to be stored. A simple box can be used to contain these tools and if your kiln stands on a metal or wooden trolley with shelves underneath, this keeps everything in one place.
If you work with the base metal clays, you will normally have stainless steel or ceramic containers filled with carbon for firing. The carbon forms ash during firing and this needs to be removed outside in the open air, normally by tipping it backwards and forwards between two containers, so the ash blows out. Always wear a dust mask when doing this.
A funnel can be a useful tool when working with the carbon, especially if you have smaller containers for firing. The carbon can be very messy so keeping it contained will help to maintain a clean work area. Fresh carbon normally comes in a plastic bag so keeping all these elements together in a closed box will help to contain everything cleanly.
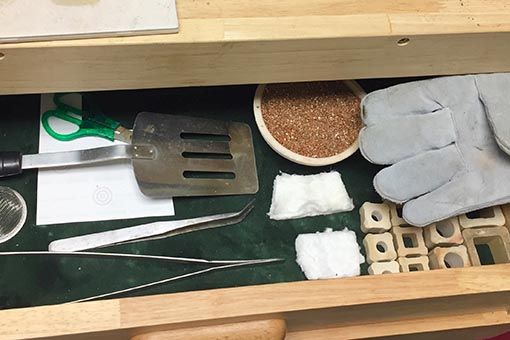
Metal clay pieces often need additional support during firing, and this requires something like fiber blanket, vermiculite or alumina hydrate. A fiber blanket gets brittle and begins to shed fibers as it is used over and over. Keeping it contained is important to avoid having harmful fibers in the air, especially in your home so store it in a plastic bag or a lidded box. Alumina hydrate is also harmful if breathed in so it should be stored safely in a closed container and always put away after use.
Other tools that you may have for hot work are large tweezers, tongs, spatulas, heat proof gloves, eye protection etc. Barbeque tools work well for getting things in and out of a hot kiln but ensure you buy gloves specifically for the higher temperatures generated during sintering. A heat proof apron may also be useful if you are enamelling regularly and opening the kiln frequently. The tools can be stored in a box or standing in a large pot or jar near the firing area for easy access, especially in emergencies.
Store kiln supplies close to the kiln
Safety equipment
When thinking about organising your hot area, you should also consider including fire-fighting equipment such as fire extinguishers and fire blankets. These can be hung on the wall to save space and keep them in easy reach where needed.
Organising your chemicals
It’s likely that you will have some chemicals or flammable liquids or gels in your studio or work area. Simple household chemicals like acetone (nail varnish remover), ammonia, superglue (cyanoacrylate), rubbing alcohol, epoxy resin etc are regulars in the metal clay studio. These chemicals, although familiar to us, need to be carefully stored, especially in the home studio if you have children around. Keep them locked away and out of hot areas as they are generally flammable.
Pickling solution and patina chemicals like sodium bisulphate, citric acid, cupric nitrate, hydrogen peroxide, ferric nitrate, sulfurated potash (Liver of Sulfur), copper sulphate, sodium sulphide, titanium dioxide, silver nitrate, etc are also chemicals which need to be carefully stored. You may know them by their brand names rather than their chemical names so make sure you download the material safety data sheet for all the products you bring into the work area. Keep them out of direct sunlight and locked away out of the reach of children.
Keeping all your flammable and toxic chemicals in one place, locked up and with a warning label on the box or cupboard to alert visitors is good practice.
Organised working
It’s great to know where to find things quickly and easily. When you gather everything you need for the project in hand, it helps to work in an organised way to ensure you are fully productive. Some people like to have their tools arranged in a certain way around their work mat, so they always know where things are. For instance, you may find it useful to have wet working tools on the left of your work mat and dry working tools on the right. Or maybe you like to have everything laid out in front of you so you can see everything.
As you develop your working practices, you’ll find the things you seem to use all the time, and these will end up in the mug or pot that becomes your go-to source of tools every time you work. Safe working is also important so be sure to put the cover back on craft knives or pin tools, so you don’t hurt yourself when reaching for your tools.
Whatever way you like to work, make sure you put things away in the right places when you are finished. If you work alone and you can’t find something, you only have yourself to blame! If you share your work area with others, it’s even more important for everyone to be conscientious about putting things away in the right places.
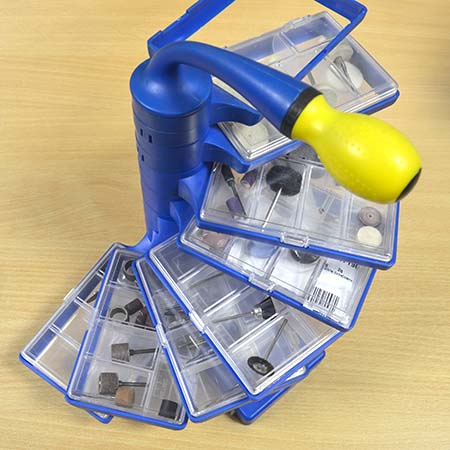
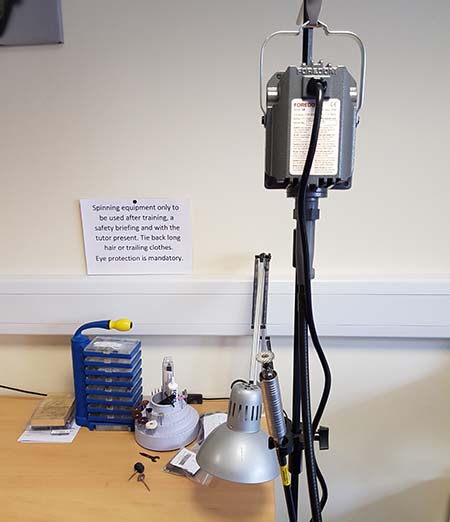
Pendant drill and tools stored ready to use

