Hand buffing/polishing
Commercially available polishing sticks
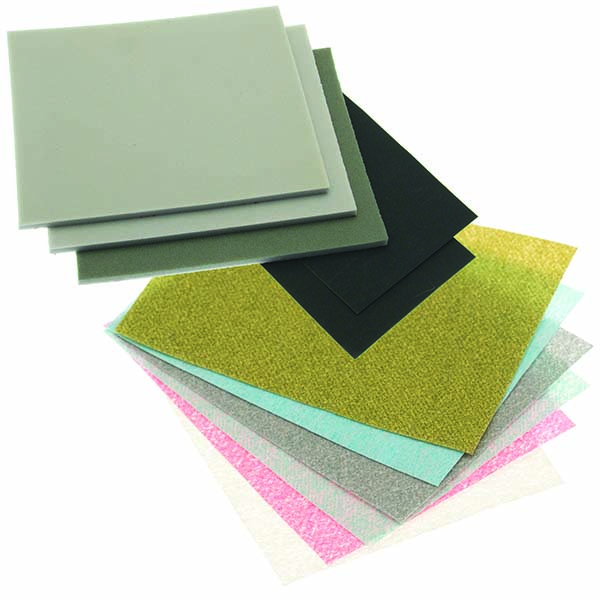
Polishing sticks can be purchased ready-made with sanding abrasive material already attached. They are available in the following cross-sections: flat, round, triangular, half-round and tapered. The abrasives wear out eventually and the sticks can then be used with whichever compound-charged cloth you may want to use. (The process of impregnating anything with a compound is called ‘charging’… more about that later).
Making your own polishing sticks
- Trim a piece of leather or thick felt to fit the flat surface of a flat stick (like a paint stirrer) or to a piece of wood in the shape you need.
- Epoxy the material to the stick.
- While the glue is drying, place a heavy book on top of the flat stick to keep the material flat.
- Make multiples of these polishing sticks, the quantity depending on the number of different polishing compounds you want to use (and also on the variety of metals you are using them on).
- Charge each stick by rubbing the compound on the material on the stick.
Simple hand buffing/polishing
Charge or apply some compound to a 100% cotton cloth and rub the metal with the cloth. I like old cotton dress gloves for this, but cotton flannel or clean T-shirts work well, too.
Buffing in tight spaces
Charge the tip of a toothpick with a little buffing compound and rub the charged tip on the metal.
Machine buffing/polishing
What about those buffs?
With a rotary tool, all the compounds must be applied to accessories (buff, wheels and brushes).
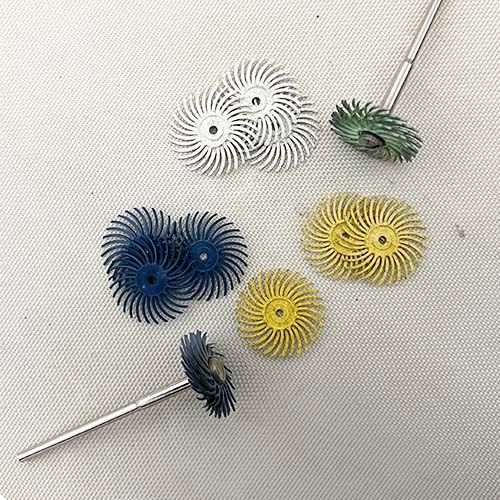
Fiber buffs, brushes, and wheels are available in the following materials:
- muslin (stitched or unstitched)
- felt (hard, soft)
- flannel
- chamois
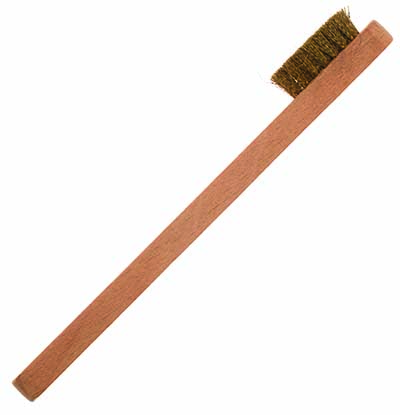
- metal brushes
- natural bristle brushes
- and other materials
Buffs come in the following shapes:
Wheel, goblet, pointed cone, round cone, cylinder, knife edge.
The above accessories can be screwed to a mandrel or be purchased permanently mounted to mandrels. (As I mentioned earlier, the accessories that are permanently mounted are not as economical to use)
Charging the buffs
The application of compounds to buffs, brushes, and wheels, is called “charging”.
Charging is done by:
- inserting the accessory’s mandrel in a flex shaft or other rotary tool.
- rotating the accessory against the polishing compound brick until a small amount of compound has transferred to the accessory.
Fluff and stuff
On some muslin buffs, loose threads fly off into the air or extend out from the buffs as you charge them with compounds. (A really good reason to wear a face shield). For those threads that are still hanging off the buff, use a pair of scissors to trim them. Loosely stitched buffs can be trimmed by mounting them in a rotary tool and spinning them against the edge of an old coarse file.
How to use compound-charged buffs, wheels, brushes, etc.
Each compound must have a dedicated buff (or cloth), and each charged buff must be used with only one kind of metal.
For example, even if you like the look of a finished produced on both bronze and silver using Red Rouge, you must charge and use different buffs for each of those metals. If you use several different compounds in the process of polishing a particular object, you must remove the first compound from your metal, by de-greasing or washing (see below), before using the next compound, to prevent contaminating the next compound+buff you will use and messing up your metal surface.
These compounds work very fast, that is, they cut a lot of metal in a very short period of time, so must be used with a gentle touch on sintered metals. You don’t want to lose any of your precious textures or dig into the surface of your piece. Practice on a scrap piece might help you get used to using the compounds.
A thrum, a toothpick and a cotton swap go into a tricky spot
Suppose you have a metal object with lots of small openings, like filigree or pierced work. You might need to get into the edges of those open spaces to clean them up. A traditional method for doing this is called Thrumming. A piece of thread or string is secured to your benchtop (held in your vise or threaded through an eyehook) then threaded through one of the open spaces and held taut in one hand. Charge the thread with a buffing or polishing compound, by rubbing the compound along the thread. The piece is then slid back and forth along the thread.
And here comes that neat little toothpick again…
- Break it in half.
- Mount it right in your rotary tool.
- Charge it.
- Run the rotary tool slowly, and away you go!
The cotton swab joins the party!
- Break a cotton swab in half.
- Chuck it in your rotary tool.
- Trim it or shape it if you want (Run it against coarse sandpaper).
- Spin it against a compound to charge it.

