Using Enamel
Enameling is an ancient decorative, coloring technique which fuses finely powdered glass to metal. Using intense heat, the glass melts, flows, and then cools to harden into a smooth, durable, and decorative, colored surface.
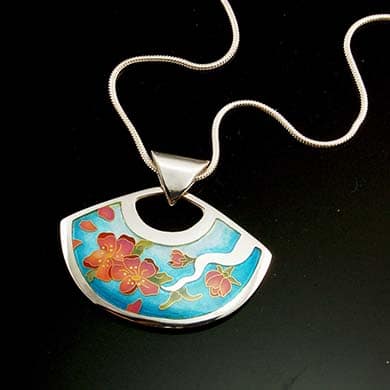
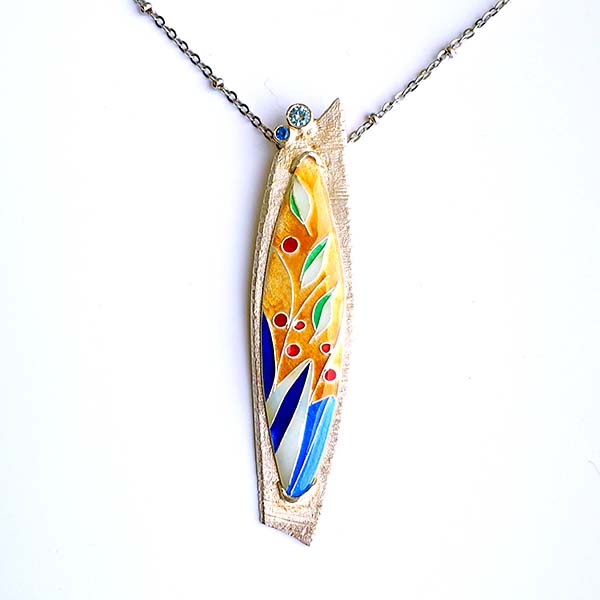
Pam East, Cherry Blossom (photo: Artist own)
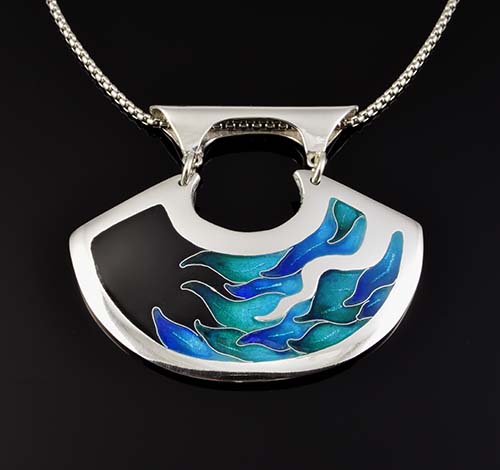
Corina Gheorghe, Cloisonne (photo: Artist own)
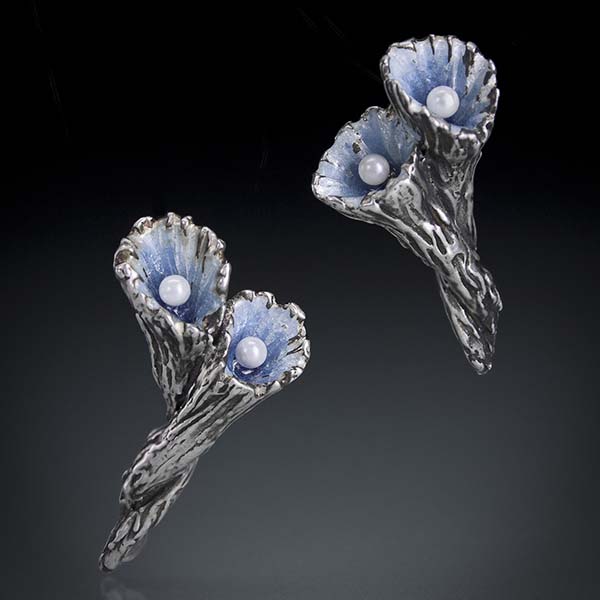
Julia Rai, Blue Pearl earrings (photo: Paul Mounsey)
Safety First!
The enameling process produces dust which can loft into the air and is dangerous if inhaled or ingested.
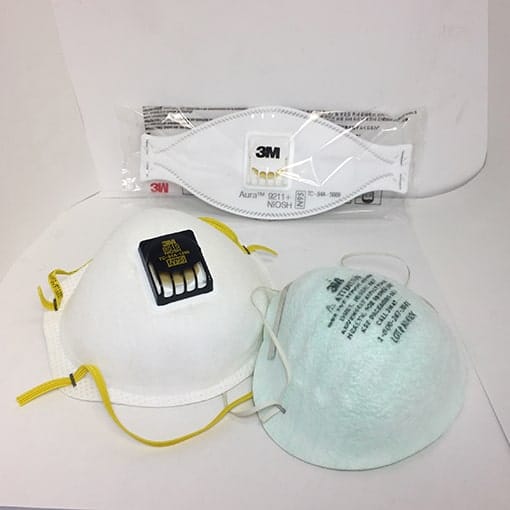
- Always work in a well-ventilated area and be sure to wear a particulate mask.
- Do not eat or drink where you use enamel.
- Do not lick a brush to make a point at the end.
- Wash your hands frequently and avoid touching your face.
- Follow common sense precautions in the firing area.
- Be sure to work under running water while sanding, using a glass brush or any other abrasive tool when finishing your pieces.
What Metals Can I Use?
Almost any metal can be enameled, but the most common are copper, fine silver, and high karat gold. Metal clay is a perfect material to use for enameling. It’s easy to texture, shape and form and can be sintered with the same torch or kiln used for enameling.
Copper
Copper is a great sub surface when using opaque enamel. If the metal itself is not a feature of the final work, using an inexpensive material like copper reduces the cost of the project.
Many enamel suppliers carry milled copper, untextured shapes (also known as ‘blanks’) which are useful for practicing on.
However, when copper or copper bearing metals are heated an oxidized surface develops. This oxidation creates a barrier that prevents the enamel from fusing to the metal surface unless it’s been properly prepared. See below for cleaning options.
Fine Silver
Fine silver is brilliant and reflective under transparent colors. Because it doesn’t oxidize, it is easy to fire with a torch or kiln.
Sterling Silver
.925 sterling silver is slightly more difficult to enamel due to the copper content unless it is depletion gilded first to raise fine silver to the surface. Enamel will ‘stick’ to enriched sterling metal clay formulas like EZ960, PMC OneFire Sterling or Art Clay 950 but when using transparent enamels small brownish spots may develop on the surface of the metal if fired at lower temperatures, and a greenish cast may develop if fired at higher temperatures. It is recommended that you either use opaque enamel or depletion gild if you must enamel sterling.
Gold
Lump gold metal clay is an expensive option but would provide a beautifully rich under layer to transparent enamels, especially those in the warmer color range. You can achieve the same luscious glow by first applying a foundation of clear enamel to a fired silver clay base, then add Keum Boo foil, and finally apply the enamel colors.
Gold is infinitely soluble into silver. With each successive firing, more gold will absorb into the silver until it disappears, negating any effect. If you are only firing on one or two layers of enamel you might be able to keum boo directly to silver, but if you are doing a deep enamel with multiple firings the keum boo gold would eventually completely absorb and disappear, which is why it’s advised to apply a coat of clear enamel first.
Using Metal Clay
To minimise warping make sure your metal clay base is at least four cards thick before sintering. The thicker the piece is, the lower the risk of warping during the enamelling process. Always fire to the maximum temperature recommended so you get maximum shrinkage. This helps to prevent additional shrinkage when firing the enamel which can result in the metal warping or the enamel cracking, especially if you fire it more than once to add more enamel.
Types of Enamel
There is so much to learn about enamels more than we can cover in this short article, but we’ll try to cover the basics.
Vitreous enamel is available in the form of frit which can be bought in different sizes referred to as meshes, from coarse – around 10 mesh – to as fine as 325 mesh. Mesh size is determined by how many holes there are in the screen per inch. The most common size used for enamel jewelry is 80 mesh. Small sieves are available in a range of mesh sizes so you can separate larger grains from finer ones. You can also grind larger enamel frit with a mortar and pestle to create a finer powder.
Enamels formulated for use with jewelry are made with or without lead, and can be transparent, opaque or opalescent.
Lead or Lead-Free?
Since health and safety laws regarding lead have been enacted in the U.S., American manufacturers produce only lead-free enamel, but various European and Japanese companies still supply a range of leaded enamels.
The colors in lead bearing enamels are thought to have more variety and vibrancy but should not be used if the work is intended for use with food.
Lead-free enamel is somewhat harder and more scratch resistant than leaded enamel and is also acid resistant (which means it is better to use if milled metal needs to be pickled to remove oxides from the metal).
Transparent or Opaque?
Opaque enamels are just what you imagine – the exact opposite of see through. They are most often used on copper to create dense, colorful surfaces.
Transparent color allows the beauty of precious metals like gold and silver to show through and is most impressive when the metal below has been decoratively textured.
You can apply transparent colors on top of opaque color to create depth and shading effects, especially if you use transparent opalescent enamel. Opalescent colors create a shimmer similar to the effect seen in opal gemstones.
Sunless Sea, Pam East, Opaque and Transparent enamels
Prepping the metal
Metal should be perfectly clean and degreased before applying enamel. When it is clean enough water should sheet off the surface, not form droplets.
Clean and polish the metal using soapy water, a drop or two of clear ammonia, and a soft brush to remove any dust or polishing compound from the surface. A toothbrush will help to get into all the areas of the surface, especially on very textured areas. You can also use a glass fiber brush to clean the surface before enamel is applied. Rinse the piece well to remove the soap and handle the metal by the edges to reduce the chance of oil from your hands getting on the surface.
Enamel will not fuse to a dirty or oxidized surface, so copper requires cleaning between firings. Sheet/milled metal is usually dropped in an acidic solution called pickle, but because metal clay is porous pickle will get into the body of the metal clay and will destroy the enamel on subsequent firings, so do NOT use pickle to clean the surface of your metal clay work. Instead try wire brushing the metal with pumice powder made into a paste with water, Penny Brite, or other commercial copper cleaner. Wash again with warm soapy water before applying the enamel.
Prepping transparent enamel
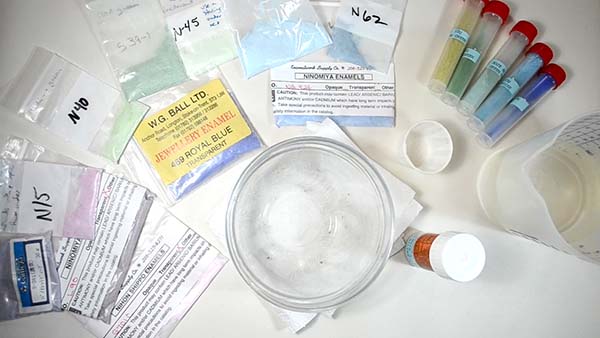
While opaque enamels do not require this step, to obtain brilliant and vivid transparent colors, it is best to wash the enamel powder before you use it.
Powdered enamels contain glass particles of all different sizes, from quite large pieces through to fine dust. This dust – called fines – can make transparent enamel look cloudy, so repeated washing eliminates these fine particles to create a clearer end product.
- To wash enamel, dispense a small amount of enamel powder into a cup and add enough water to just cover it.
- Use distilled water if you live in an area where your water supply is high in minerals. Tap water can be used to do the initial washing stages with the final rinse done with distilled water.
- Swish the water around and then allow it to settle for around 20-30 seconds. The water will look cloudy; this is the fine dust suspended in the water. Carefully pour away the cloudy water leaving the heavier enamel particles behind.
- Repeat this process until the water is clear. The enamel is then ready to use.
Application
Counter enamel
Theoretically glass is always in motion. This expansion and contraction stresses the metal and can result in cracking and warping.
- The best way to avoid it is to counter enamel the piece, which just means that you apply a layer of enamel on the back of the piece to equalize the pressure. Counter enamel the back before you start to work on the front.
- Domed pieces are much less likely to be affected, so forming the metal clay piece on something like a closet Tap light as it dries may mean that you don’t have to counter enamel.
- You also may be able to avoid this step is if the enamel is only applied in one or two thin layers.
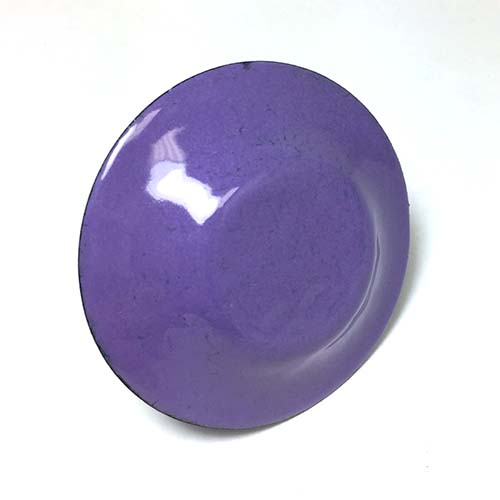
Back of counter enameled dish
Sifting
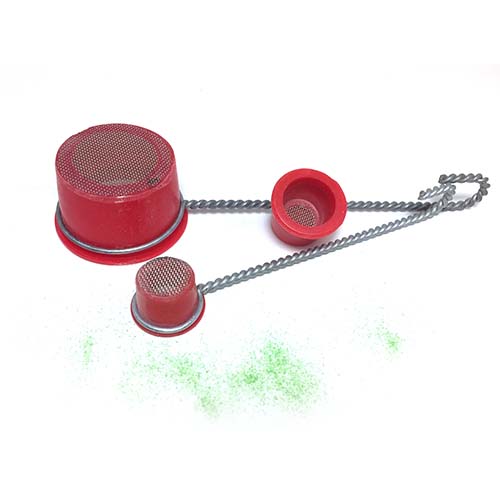
If you are completely covering a surface with opaque enamel it can simply be sifted it onto the surface. Use saliva (an old jeweler’s trick) or a type of adhesive known as Klyr-Fire to ‘glue’ the enamel to the metal, so it doesn’t blow off as the piece is moved from the work area to the firing area.
Tip: Use your thumbnail to scrape the twisted the handle of the sift as you move it over the piece. This will allow a light ‘rain’ of glass particles to spread evenly over the surface below.
Sifters for enamel
Wet Packing
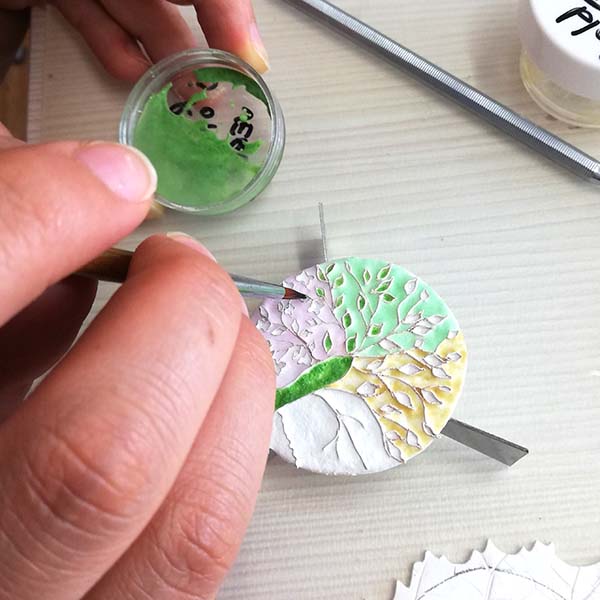
Enamel can also be made into a type of slurry with the addition of water and applied with a fine tipped brush. Pack wet enamel onto textures or into individual cells for precise applications.
Wet packing the cloisonns on a brooch
Enameling techniques
The enameling techniques practiced by artisans over the centuries differ mainly through the methods of metal preparation before applying the enamel powder. There are a multitude of techniques, the ones described below are some of the most popular.
Cloisonné (pronounced Cloy-zon-ay)
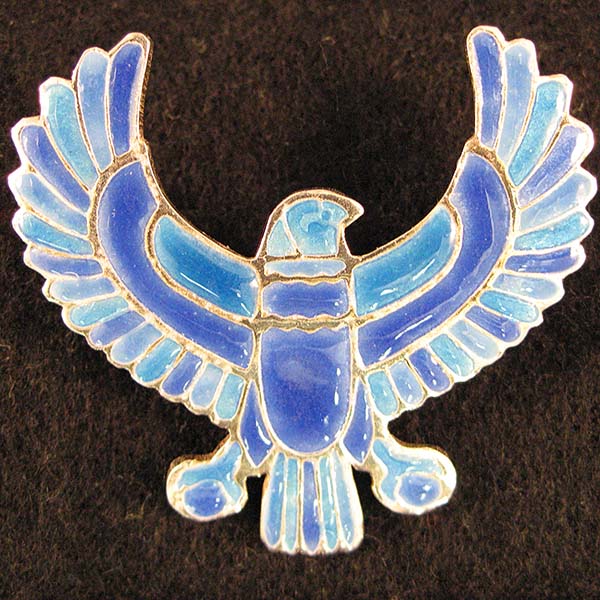
Cloisonné is probably the most used and recognized enameling technique and has been employed for centuries. The term cloisonné comes from the French cloison, which means cell or partition.
Traditionally, narrow metal bands are formed using fingers, pliers or tweezers to follow a specific design. When using metal clay, a maker can create a similar effect with clay extruded from a syringe. The design is arranged on the surface of the work forming short walls that join together and create individual cells.
Enamel is then repeatedly wet packed and fired until the enamel reaches the height of the metal wall.
The piece is then finished by grinding the surface with an abrasive like a carborundum stone, diamond pad, or other tool until the walls are the same level as the enamel. Scratches are removed by heat polishing when the work is fired a last time to achieve a glossy finish.
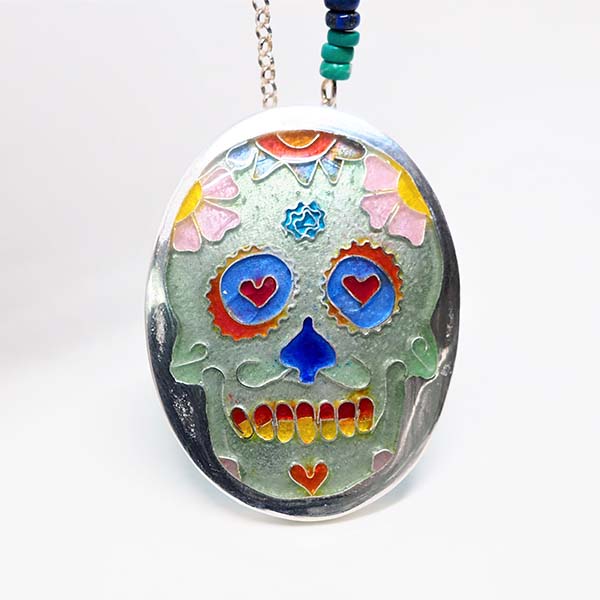
Corina Gheorghe, Cloisonne (photo: Artist own)
Champlevé (pronounced Shomp-le-vay)
This is another French term. Champ means field and lever means to raise. The design is carved or pressed into the base and the surrounding untextured areas are raised. The low area is then filled by wet or dry packing powdered enamel into the depressions.
Metal clay is a perfect material to use with champlevé enamel as it is so easy to create deep depressions with stamps, texture plates, carving dry clay, or layering cut out designs onto a solid sub surface.
Julia Rai, Champlevé Brooch (photo: Artist own)
Basse-taille (pronounced Bass-tie)
This term also comes from French, where bass means low and taille means cut.
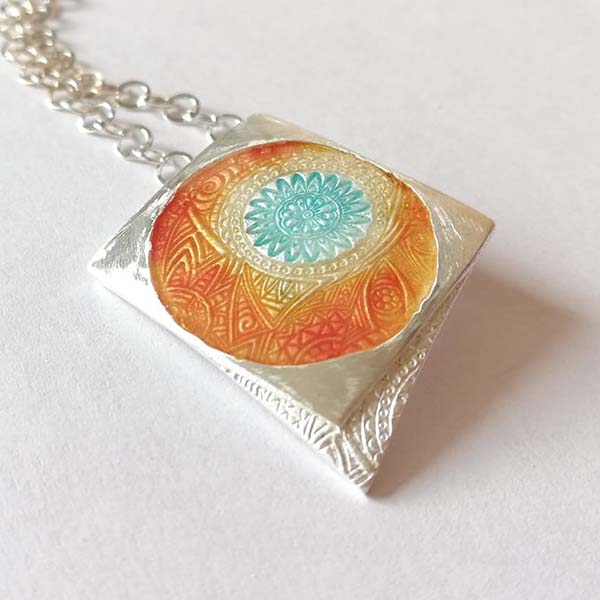
Basse-taille is another technique that is particularly good for metal clay due to the ease of texturing the surface. Transparent enamel is used for this technique. A low relief texture is applied to the surface but rather than the enamel being placed down into the channels produced, with basse-taille the enamel completely covers the surface. This means that the enamel surface is smooth but the deeper areas of the textured design where the enamel is thicker appear darker.
The way light enters the enamel shows the three-dimensional texture through subtle variations in the tones of the transparent enamel colors. Bright tones can be seen in the raised areas of the texture and more intense tones are seen in the deepest areas.
Traditionally, there are a variety of ways used to create texture for basse-taille, like chiselling, engraving, hammering, stamping, etching, casting, or chasing and repousse. The enamel is either dry sifted over the surface or wet inlayed with clean transparent colors. While in the champlevé technique the enamel covers only the low areas, in basse-taille, both the high and the low areas are covered.
Basse-taille pieces benefit from a border around the edges of the design. This helps to prevent the enamel from chipping off at the edges if it is knocked or dropped and contains the enamel layer.
It is quite common to mix this technique with champlevé or cloisonné. Gold or silver is normally used for basse-taille, so the light is reflected back through the translucent enamel adding a glow to the overall effect.
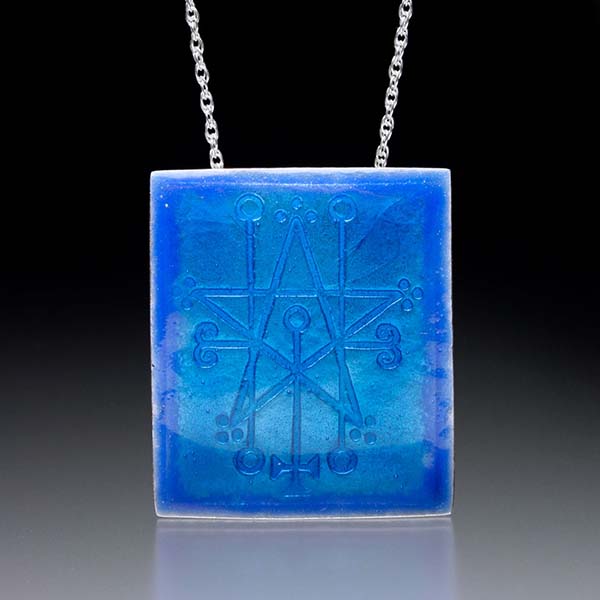
Julia Rai, Basse-Taille pendant (photo: Paul Mounsey)
Corina Gheorghe , Basse-Taille pendant (photo: Artist’s own)
Plique-à-jour (pronounced Pleek-ah-zjour)
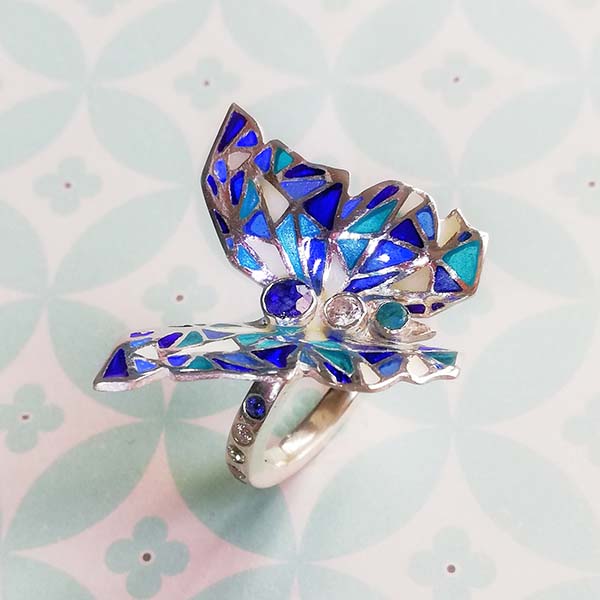
The term comes from French and means ‘layer that allows light to pass’ because it produces a miniature stained-glass effect through the use of transparent enamels.
The enameled objects created with this technique can be spectacular not just from the transparency of the glass but also because they often feature an intricate filigree design. Bowls, vases, cups or earrings are suitable for this technique. Pendants and brooches which are worn against the body do not allow light to pass through and show the real beauty of the piece.
The plique-a-jour technique requires a lot of patience and planning when designing the piece and especially in creating the openings for the enamelled areas, otherwise the pressure can cause the glass to crack.
The metals best suited for creating plique-a-jour pieces are fine silver, fine gold or copper, either milled or metal clay. Fine silver metal clay is the easiest to use for this process, but the technique is one of the most difficult to master.
Corina Gheorghe, Plique-à-jour ring (photo: Artist’s own)
Firing Enamel
Enamel can be fired in a kiln or with a torch.
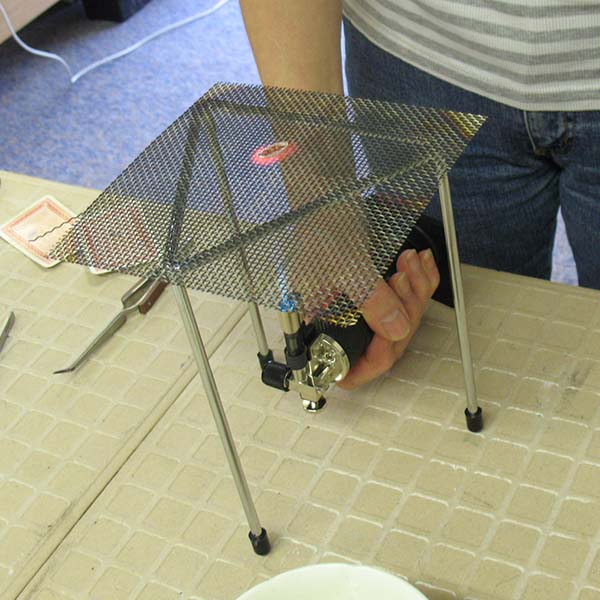
To kiln fire enamel, you will need a stilt, also called a trivet, or steel mesh to put the piece on, some sort of tongs or a firing fork to get the enamel piece in and out of the kiln and somewhere close by to stand the hot piece while it cools.
Pre-heat the kiln to the recommended temperature for the enamel you are using. Put the piece into a hot kiln and start the timing when the kiln regains the firing temperature as it will have dropped when you opened the door.
To torch fire enamel, use a tripod with steel mesh on the top and fire from the underside of the piece. Do not let the flame touch the enamel as this can burn and/or discolor the enamel, blow the enamel off the piece or cause it to ball up.
Tip: When torch firing, it is recommended that you use lead-free enamels. This reduces the risk of inhaling lead fumes and lead-free colors do not discolour as easily when directly heated.
Always allow enamel to cool naturally and do not quench it. Quenching will shock the enamel and cause it to crack.
Warning: Leaded and unleaded enamels are seriously incompatible and are not a recommended paring. If you really want to try using both, remember the phrase UNleaded goes UNder leaded.
Applying the unleaded enamel first will help alleviate cracking, but we don’t make any promises.
Don’t forget that enamels are hazardous as they are powdered glass. Remember to wear a particulate mask when you are working with dry enamel powder to prevent breathing it in.
RESOURCES

