Working with Gold
There is nothing more luscious than the rich color and warmth of gold. Especially high karat gold. But the price can make it intimidating to work with. Luckily there are many options when designing gold accents for metal clay work.
What’s a karat?
Pure gold is identified as 99.9% fine the same way pure silver is 99.9% fine. It is also known as 24k or 24 karat gold. Because both fine silver and fine gold are relatively soft, they are most often alloyed with other metals to give them strength. The more gold is alloyed to create a stronger material, less of the precious metal content remains, and the numeric designation is lowered (see chart below). Historically, silver and copper have been used as alloy materials for gold, but modern makers can use a variety of metals to achieve the color, malleability, ductility, and strength they’re after.
Note: North America spells karat with a ‘k’ when referring to gold and ‘c’ when referring to gemstones such as diamond, however, either spelling is acceptable. Both karat and carat get their names from the Greek root meaning carob seed, which was originally used as a measure of weight.
Gold Purity Chart
24k = 99.9% fine gold
22k = 91.7% fine gold
18k = 75.0% fine gold
14k = 58.3% fine gold
10k = 41.7% fine gold (more common in North America)
9k = 37.5% fine gold (more common in Europe/Britain)
How can I add gold to metal clay?
There are 4 materials metal clay artists can use to create gold accents or even entirely gold items. Lump gold clay, liquid types of gold ‘paint’, thick gold foil, and chemical processes.
Lump clay
Lump gold metal clay can be used as-is to create small, decorative elements which can then either be pre-fired and joined to pre-fired silver metal clay or implanted directly into fresh silver clay as greenware and co-fired (PMC Only). It can also be blended with water to develop a creamy slip which can be used to ‘gild’ pre sintered metal clay in the way the gold ‘paints’ discussed below are used.
- All high karat golds are soft and highly malleable metals, so they are not recommended materials to use for ring shanks.
- Because the microscopic particles of gold have a different shape and size than those in silver clay, gold clay feels a bit sandier than you may be used to.
- Note that gold clays manufactured by different companies have different firing schedules and capabilities. Always read the manufacturer’s firing recommendations.
Precious Metal Clay
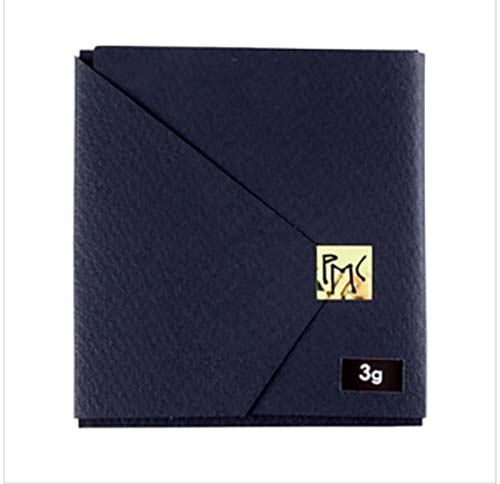
Originally, Precious Metal Clay’s (PMC) lump clay was made of 24k gold, fired at 1800ºF (980ºC) and shrank 25% or more. Due to the difficulty in co-firing silver and gold clays, PMC developed 22k gold, which can be co-fired with silver clay at 1650ºF ((900ºC).
- Shrinkage approximately 12%.
- Lump gold PMC can be either torch or kiln fired.
- PMC gold can be thinned with water or Sherri Haab’s Pastemaker to develop a creamy slip.
Art Clay
Art Clay (ACS) has used 22k in their product since its inception but because their formula must be kiln fired at 1813ºF (989ºC), it cannot be co-fired together with silver. To add ACS gold details to silver, fire the gold first, then implant it into fresh silver clay and re fire. Make sure there is a good mechanical connection that holds the gold element in place.
- Shrinkage approximately 15%.
- Lump gold Art Clay cannot be fired with a torch, a ‘beehive’ type kiln, or on the stovetop.
- This brand of lump gold clay is not recommended for use in gilding silver.
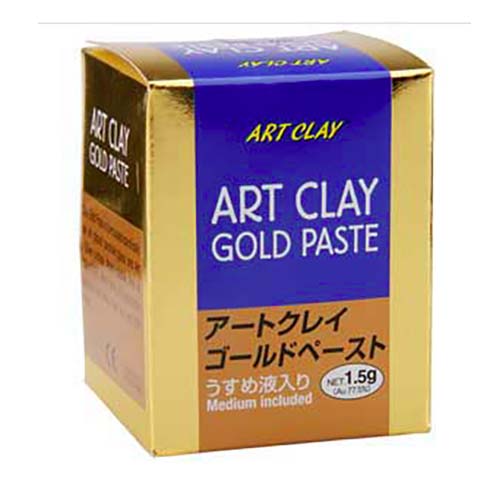
- Art Clay also manufactures a gold paste that is commercially available from a variety of vendors.
- Art Clay gold paste may be torch fired and used to gild.
MF Glaeser
Michelle Glaeser is an independent manufacturer of small batches of gold metal clay and sells on Etsy. Due to the copper content in these alloys, her 14k and 18k yellow gold types must be kiln fired in carbon but can still be co-fired with fine silver clay. Custom firing instructions are included in the packaging.
- Shrinkage approx. 15%.
- Must be kiln fired in carbon.
- Can be thinned to create slip, but this brand is not recommended when gilding.
- Company can create custom alloys by request.
- Contains copper.
- Contains essential oil.
Colored golds
Although yellow is certainly one of the hues in the spectrum, gold can also be alloyed with a variety of different metals to create a subtle rainbow of colors. Add silver and you’ll get green gold. Silver and copper create a rosy hue, and white gold includes a mix of silver; zinc; and nickel – but since the resulting color is actually a dull grey and can yellow over time, white gold is usually plated with rhodium. There is no white gold metal clay at this time.
MF Glaeser
Available in either pre-mixed lump or in powder form, MF Glaeser hand crafts small batches of both green and rose gold metal clays.
Rose Gold
- Shrinkage 15%.
- Must be kiln fired in carbon. ( Custom firing instructions are included in the packaging)
- Contains copper.
- Contains essential oil.
Green Gold
- Shrinkage 15%.
- May be torch fired.
- May be kiln fired in open air.
- May be co-fired with silver clay.
- May be used to gild silver clay.
- Contains essential oil.
Gold ‘Paint’
These liquid products are not actually paint in the traditional sense, but it is a good way to describe their viscosity and application. As stated above, some lump gold clays can be thinned to create a liquid that can be applied to freshly fired silver clay, but the products listed below have specifically been designed to be easily applied to silver with a brush. Some come as a liquid, ready to use and others are a powder that you add a ‘medium’ to.
Because gold is easily diffused into silver at high temperatures, and metal clay is more porous than sheet metal, it is important not to leave gold coated work in the heat of the flame or the kiln after the gilding process has ended as the gold will sink into the body of the silver it is being applied to and disappear if heat is held too long.
Accent by Jewelry Material Innovations
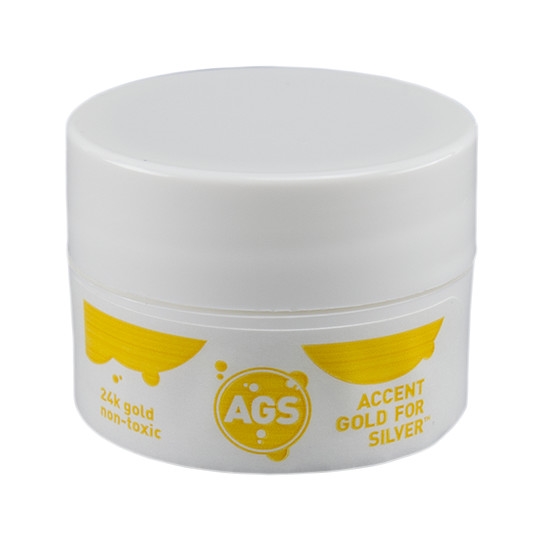
Accent overlay pastes are available in 24k yellow gold and 18k Rose gold to be used with fine silver metal clay, and silver alloy to be used with copper, brass, and bronze metal clays.
- Comes as a powder which can be mixed with distilled water.
- Add 6 or 7 drops of water and mix to a creamy, syrupy, consistency. Let the mixture rest a few minutes until the binder absorbs the water before using it.
- Use a rubber tipped tool or a small pallet knife to mix.
- Use a dedicated fine, pointed, brush to apply.
- Accent Gold for Silver (AGS) can be torch or kiln fired.
- Accent Rose Gold and Accent Silver must be kiln fired while submerged in carbon.
- A two-tone effect using yellow and rose gold must be kiln fired while submerged in carbon.
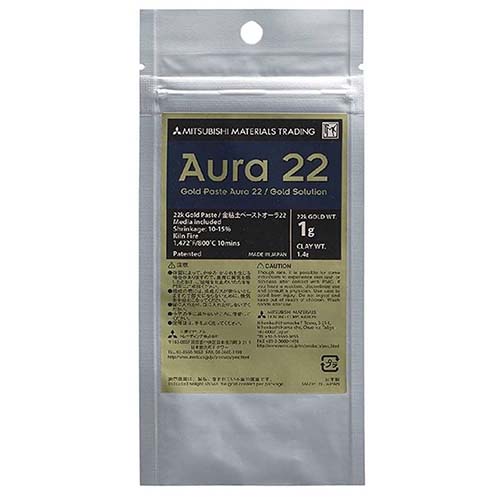
Aura 22 by Mitsubshi Materials
Aura 22 is a 22k alloy of gold and silver designed to be used with fine silver metal clay.
- Comes as a liquid with a ‘wetting agent’ to be used for rehydration.
- Use a dedicated fine, pointed, brush to apply.
- Can be kiln or torch fired.
- Manufacturer advises that it can be applied to unfired metal clay but applying to pre-sintered work and torch firing the gold gives consistently more reliable results.
- Application of a single layer of fine silver slip before applying 2-3 layers of gold is recommended for good results.
Rehydrating Options:
- Accent products can often be rehydrated with distilled water, or by stroking with water as you would do with a cake of watercolor paint.
- Aura 22 dries into a rubber-like skin that is best rehydrated by placing the jar of Aura into a hot water bath on the stove and letting it simmer for about 5 minutes. This process is similar to melting candle wax or chocolate in a double boiler/Bain Marie.
Accent by Jewelry Materials Innovations
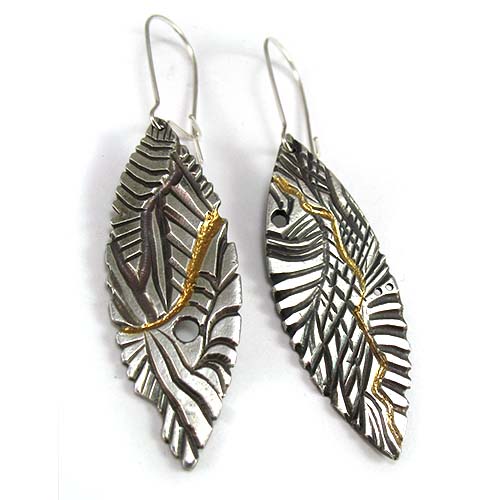
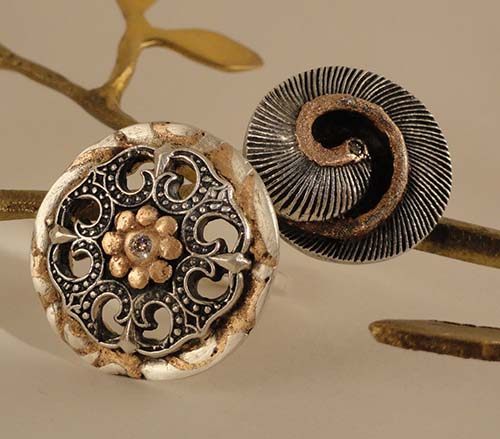
Gold paste on carved silver clay
How To:
- Kiln fire the fine silver base piece but do not polish or wire brush.
- Apply one thin coat of silver slip to the area to be gilded. Let air dry.
- Apply two to three thin coats of the gold ‘paint’, letting each coat air dry before applying the next.
- Torch fire until the gold is a bright orange, or kiln fire according to the manufacturer’s recommendations.
- Remove from the heat and immediately start burnishing the gold with a steel or agate burnisher as the metal cools by stabilizing the work with one burnisher and rubbing with a second burnisher.
- Brass brush by hand, tumble, or use a blue (400 grit) radial disk to finish. Do NOT use a wire brush or coarse polisher on a rotary tool, they are more aggressive than a hand-held brush and may scratch the gold.
- May be soldered if a sharp flame is used. Speed in soldering is the key to success. Butane torches may take longer to reach the correct soldering temperature which may cause the gold to diffuse into the body of the sintered metal clay.
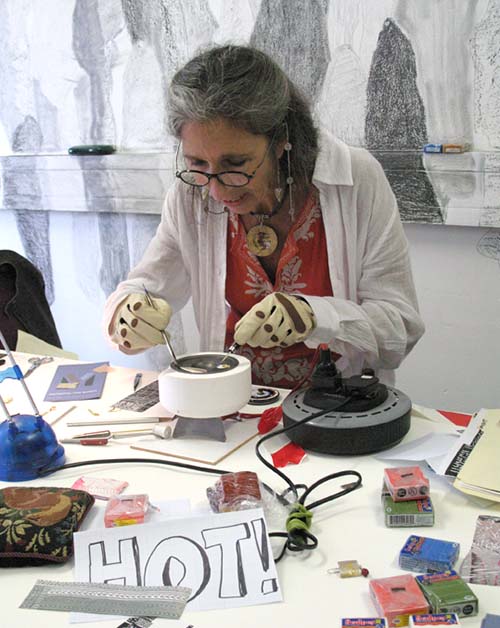
TIP: Most burnishers have wooden handles, but you might be more comfortable working over a burner, hot plate, or beehive kiln when wearing leather gloves. Never wear synthetic fibers when working with heat!
Keum Boo
Keum Boo is an ancient Korean technique used to fuse a thin sheet of gold metal to silver, steel, copper, and bronze surfaces. Due to the way steel, copper, and bronze oxidize, gilding these metals is difficult even for an experienced goldsmith. Fine silver and enriched sterling are much more reliable as a base metal for this technique. If using .925 sterling it is advised to depletion gild to bring a layer of fine silver to the surface.
Keum Boo foil is much thicker than the gold leaf that is sold at crafting stores. Gold leaf will not create as dramatic a contrast and may even dissipate into the metal and be lost completely. Some metalsmiths will roll their own Keum Boo stock, but it is also commercially available through companies like Rio Grande, Cookson, and Allcraft.
Keum Boo Foil Prep
- Sandwich one sheet of foil between two sheets of tracing paper for stability and ease of handling. Foil tears easily if handled directly, and finger oils may prevent the gold from sticking to the workpiece.
- Use decorative paper punches or small sewing or cuticle scissors to cut shapes.
- Remove tracing paper before application.
Metal Prep
- Use an electric burner capable of reaching 800ºF /430ºC or a small tabletop kiln like the Ultralight.
- A sheet of 18g (1mm) copper or brass placed on the burner will help to conduct the heat more efficiently.
- When a chopstick or bamboo skewer pressed onto the copper sheet chars, the burner is nearing the correct temperature.
Gilding
- To pre-place the gold foil on a room temperature piece of silver, use a holding medium like saliva (an old jeweler’s trick) or a thin glue like Klyr Fire to keep the foil in place. OR
- Use tweezers to place the workpiece on the hotplate and wait for the metal to get up to temperature.
- Use tweezers to place the foil after the silver has reached the correct temperature.
- Tack the foil in place by pressing it with the tip of a steel or agate burnisher.
- After the foil tacks down in a few places, begin to burnish/rub the gold onto the silver using a steel, Pyrex, or agate burnisher. You can hold the workpiece still with one tweezer or burnisher while moving a second burnisher across the foil.
- Rub from the center of the foil out to the edges, making sure to press down any air pockets or bubbles.
- Continue rubbing until all the foil has been fused to the silver base.
- Remove from the heat and continue to burnish.
- Do not quench! Let it air cool.
Tips
- Air cool, do not quench.
- Brass brush by hand, tumble, or use a blue (400 grit) radial disk to finish. Do NOT use a wire brush or coarse polisher on a rotary tool.
- May be soldered if a sharp flame is used. Speed in soldering is the key to success. Butane torches may take longer to reach the correct soldering temperature which may cause the gold to diffuse into the body of the sintered metal clay.
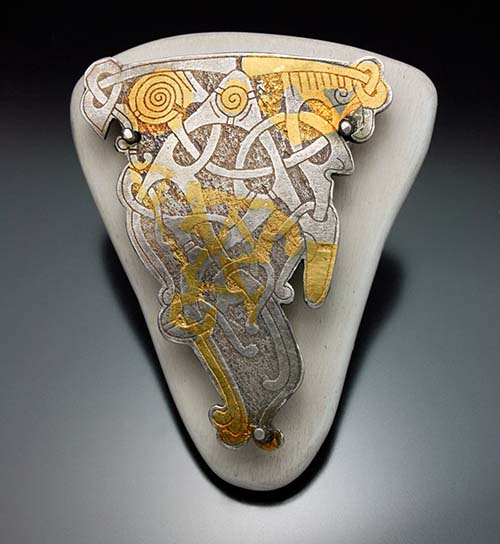
Julia Rai brooch, Photo Paul Mounsey
Celie Fago demostrating Keum Boo
Pen Plating
Pen plating is an electro chemical process that deposits very thin layers of gold, rose gold, green gold, silver, rhodium, black rhodium, nickel and other metals onto the workpiece. Kits that are safe to use in a studio workshop range in price and function from under $100 for a disposable pen that is good for an overall plating time of one hour to over $1,000.00 dollars for an advanced system that allows a number of pieces to be bath plated at once.
Safety First!!
Depending on what kit you buy and how it functions, the chemicals used can be very dangerous if not handled with respect.
- Work in a well-ventilated area
- Always wear sufficient eye protection
- Wear an apron to protect your clothing from possible splatters
- Wear gloves to protect your fingers, and to avoid getting body oils on the workpiece
How does it work?
As metal clay enthusiasts, we’re familiar with the microscopic grains of metal that make up metal clay, but plating solutions are completely liquid – so how does the gold get in there? Honestly, the scientific process is too much to go into – basically, the plating metal (gold, rhodium, silver, etc.) is magically suspended in a chemical solution, and then electricity is used to deposit the metal onto the workpiece. There are a number of plating systems that come with either battery or plug-type power sources.
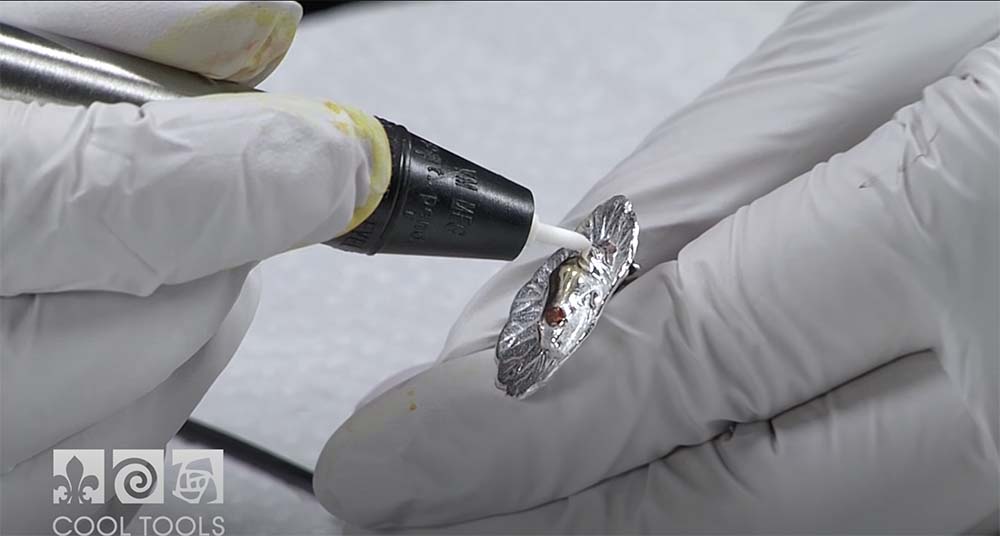
While a plating ‘bath’ provides full coverage as the user dips the work into a full jar of solution, ‘pen’ plating uses a felt tip in a pen-like holder to spot plate selected areas. The felt tip is dipped in the plating solution and rubbed over the workpiece. The longer the tip is in contact with the workpiece, the more metal will be deposited.
Tips
- Finish and polish work before pen plating.
- Avoid cross-contamination by keeping the original jar of solution separate from the container you’re working out of. Pour a tiny amount of plating solution into another jar and use that as you dip the felt tip in and out of the solution. When you are finished with the job, wipe the jar with a paper towel, put it into a plastic bag, and take the bag to a hazardous waste facility.
- Be sure to dedicate one felt tip per metal content used. i.e.: one tip for yellow gold, one tip for rose gold, one tip for green gold, etc.
- Work needs to be spotlessly clean before plating. Wipe the piece with alcohol to remove all dirt and oil from the surface.
- Over polishing may remove some of the very thin plated surface, so do all finishing and polishing before you start. A silver scratch will just turn into a gold scratch if you don’t prep correctly.
- Because the plating solution won’t transfer to a dirty surface – apply patina, clean with alcohol, and then plate to achieve an antiqued look.
- Because rings are continually being rubbed and burnished by fingers, plating is not a good candidate for ring shanks.
Pen plating, image from a Cool Tools video 24K Gold Plating Technique by Valerie Bealle

