


Make Flexible Metal Clay
There are dozens of different methods online about making your own flexible metal clay (this is yet another one). Most I’ve seen either involve precise measurements, which never seem to work, or require you to pretty much make a mess (yeah, I’m not doing that). This method requires none of those – just your eyeballs, a roller, and whatever tool you use to measure playing card thickness.
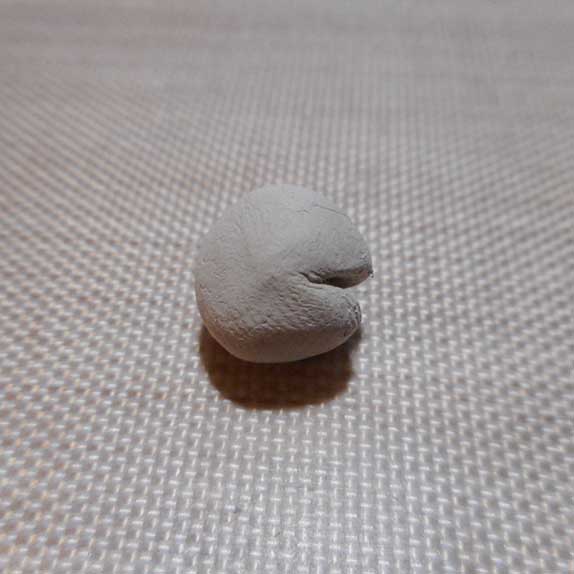
First, take out as much clay as you’ll need for your project. Here I’m using PMC3. (Having it look like Pac-Man is not required, but let’s be honest, it’s more fun that way.)
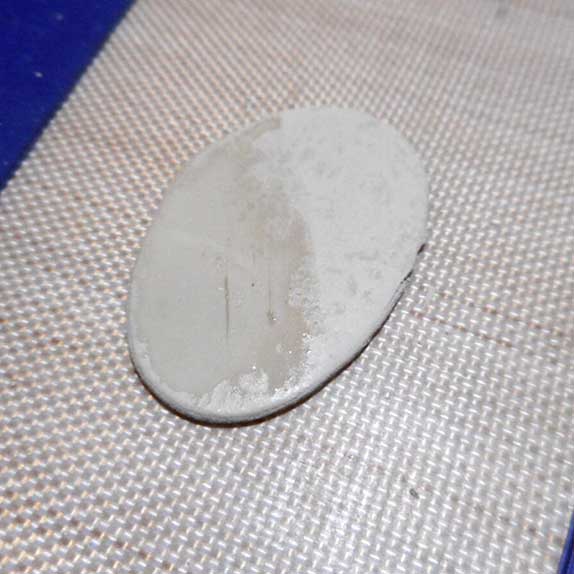
Roll out the clay 4 cards thick if you don’t require that much flex in your clay, or 3 cards thick if you would like it to be quite flexible. Apply a thin coat of glycerin to the top of the clay. The clay in the photo only has it on the left side to give you an idea of what it will look like. Then you can either knead it into the clay with your hands, or you can use the fold, rotate, and roll method to incorporate the glycerin into the clay.
If you need your clay super flexible, as I did for the woven part of this ponytail holder, you can roll the clay down to 3 cards thick and add glycerin twice. Personally, I wouldn’t go much past trying it three times as the glycerin does start to make the clay crumbly.
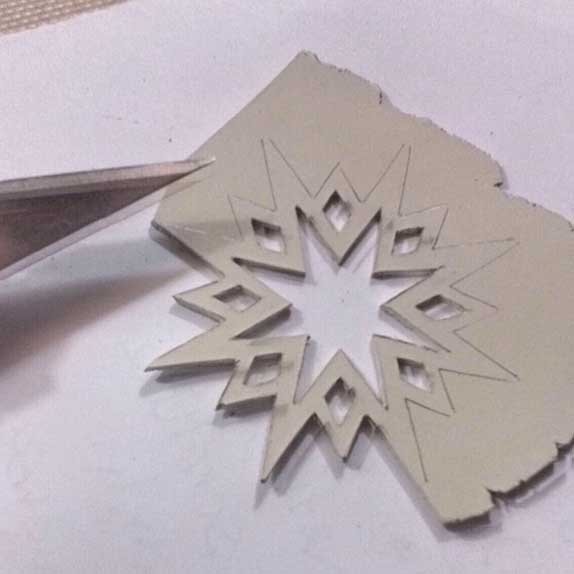
Another way I like using glycerin clay is for cutting out detailed shapes. After the clay is mixed I roll out a slab however thick I need and let the flexible metal clay dry. This takes about the same time as straight metal clay, unlike PMC Flex that can sometimes seem to take forever. I then draw the shape lightly with pencil and use a scalpel blade to cut it out. The glycerin makes it cut quite nicely.
You can then leave the shapes as is, though I always seem to back them. To use a textured back I’ll cut my shape out first, then roll the textured clay out, add a bit of water onto the back of the cut shape and press it firmly into the texture before it starts to dry.
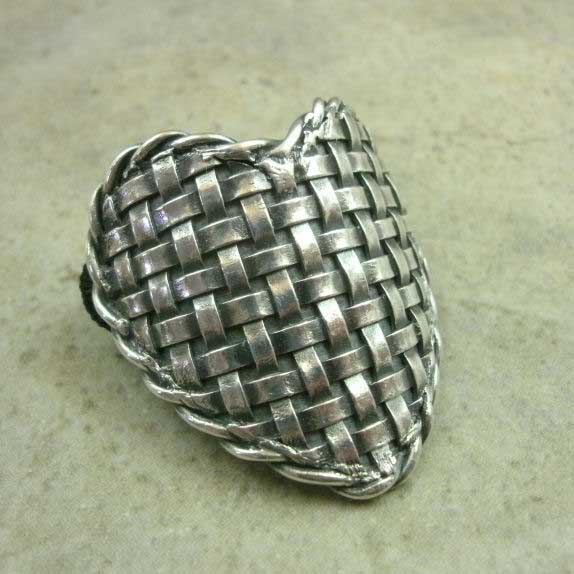
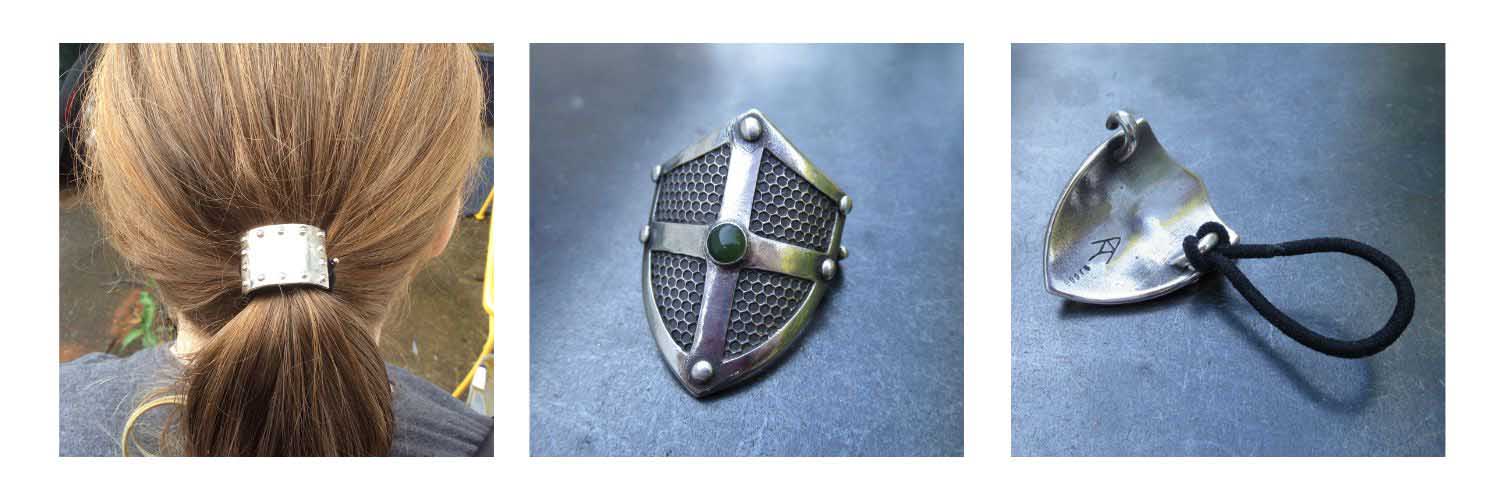
And because it’s still flexible metal clay, you can even use this technique for rounded things like rings, or my ponytail holders.
 Guest blog by Amy D
Amy D is a metal clay artist and the self-described evil genius behind Forged Mettle Jewelry. (Only slightly evil). While she creates jewelry in multiple styles, she is best known for her industrial pieces.
You can find her work at ForgedMettleJewelry.com or ForgedMettleJewelry.Etsy.com.
You can also follow Amy on Instagram @ForgedMettleJewelry or on Twitter @Forged_Mettle.
Learn more about metal clay
Blog post: Silver Metal Clays – Which is the right one for your needs?
Learning Center article: Working with Metal Clay