Tools & Equipment
The tools and equipment described here are those needed to work with metal clay. Most can be used with all clay types as long as the tool can be washed in between uses.
Items that cannot be shared between unfired silver and base clays are those that capture clay residue/dust like sandpaper, files, and brushes.
Tools and equipment can be divided into two categories, basic/household tools and specialty tools and equipment. Typically, a new metal clay artist begins to create their work with basic tools. When they learn more, the desire for more equipment grows, and the toolbox becomes fuller.
In the Beginning
Although most of these tools can be purchased on sites that specialize in metal clay supplies, many can be found in and around the house and are a great way to begin experimenting with metal clay. You can make beautiful pieces from beginning to end using just the tools listed below and a little imagination.
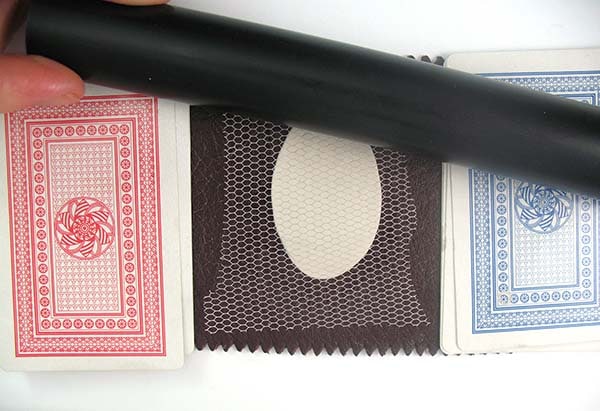
Rolling a texture with playing card spacers, with leather as a back texture and net as the front texture using a pipe as a roller.
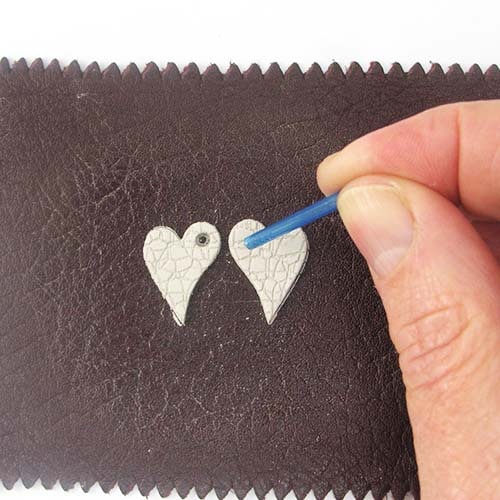
Making holes with plastic small diameter drinking straw
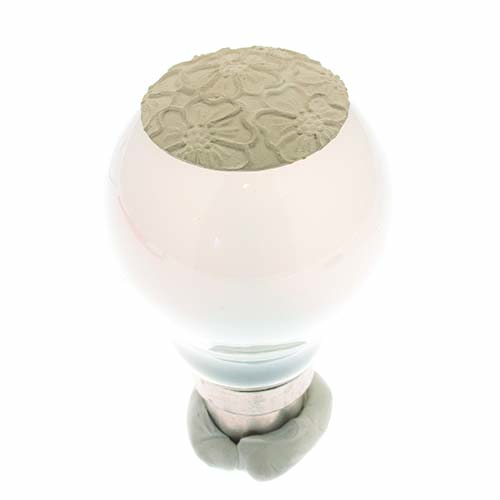
Drying clay on a lightbulb to make a dome
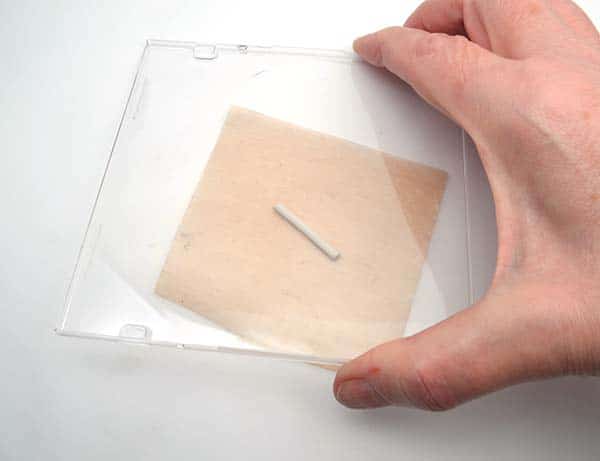
Rolling a snake (coil) with an old CD case
Making
- A flat, even, table surface about 24” long by 18” deep (61x46cm)
- Good lighting
- Reading glasses or magnifier (even if you have good eyesight)
- Paper and pencil for sketching ideas
- Olive oil to use as a lubricant (or to make a work surface ‘non-stick’)
- Playing cards to use as spacers
- 6” (15cm) piece of PVC pipe or similar cylindrical object to use when rolling flat sheets of clay
- CD case to roll coils
- Non stick, flexible, working surface such as Teflon™ or a lightly oiled sheet of plastic (i.e. page protector, cd case, etc.)
- Straight pin, sewing needle, or T-pin to cut a shape
- Straws to make holes and form bails
- Toothpick to sand the inside of a hole
- Texture making material (like lace, wallpaper, the bottom of a shoe, leaves, buttons, children’s toys, etc,)
- Forming surfaces like rounded light bulbs, pill bottles, pencils, or polymer clay
- Plastic food wrap to protect the clay from drying in the air
- Water to rehydrate dry clay or to join one fresh piece of metal clay to another
- Airtight container or original clay package (if it has a zip lock closure) to store the clay
- Sanding papers or emery boards, medium to fine grit to refine dry clay
- Catch tray (a plate or paper with edges folded up to catch filings)
Firing
If you really want to get started with items collected from around the house, the only firing option is to use a gas stove. The metal clay must be placed directly over the flame, and you must keep a sharp eye on the piece as it fires to ensure that it doesn’t get so hot that it melts. If you don’t have a gas stove then the next best thing is a small butane torch though you will need a heat resistant surface to fire on. Make sure to review videos before you begin and practice common sense safety procedures. See Metal Clay Firing Methods and Equipment for more information.
Note: only completely dry, fine silver (.999) can be fired on a kitchen stove or with a torch!
- Gas stove (this process will not work with an electric stove)
- Stainless steel screen to support the work as it sinters
- Or small Butane Torch (also known as a Cook’s / Creme Brulee kitchen torch), Butane + firing surface (Fire brick or soldering board)
- Timer
- Jar of water for speed cooling the sintered work (or it can be left to air cool)
- Tweezers to move the hot metal
- Good ventilation!
Finishing and Polishing
- 0000 Steel wool to polish the silver surface
- Stainless steel spoon to burnish to a shine
- Hard-boiled egg and zip lock bag to patina
Growing your Toolbox
Eventually, an experienced metal clay artist will want to work with more sophisticated supplies. Most of the tools mentioned above can be replaced with a commercially manufactured version. The tools listed below will inspire your work process and creativity to grow.
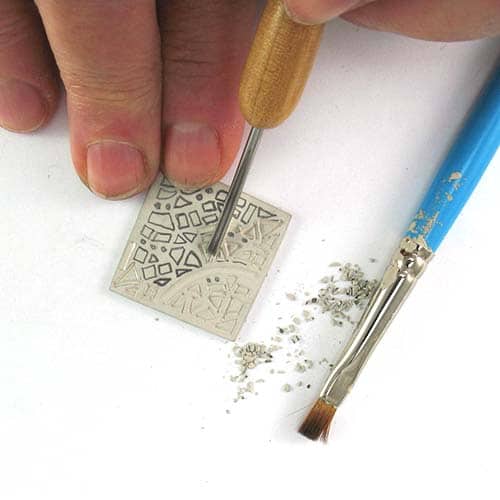
Carving designs using mini carving tools
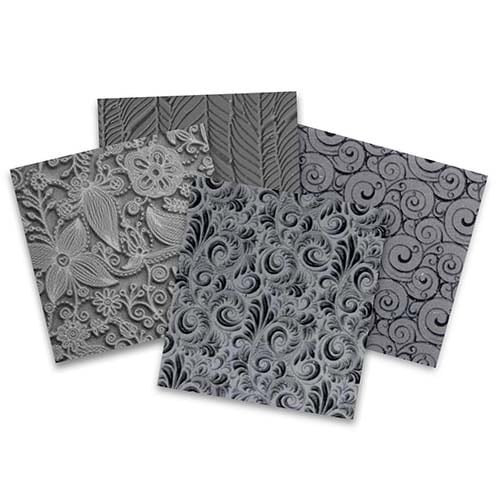
Commercially available metal clay texture tiles
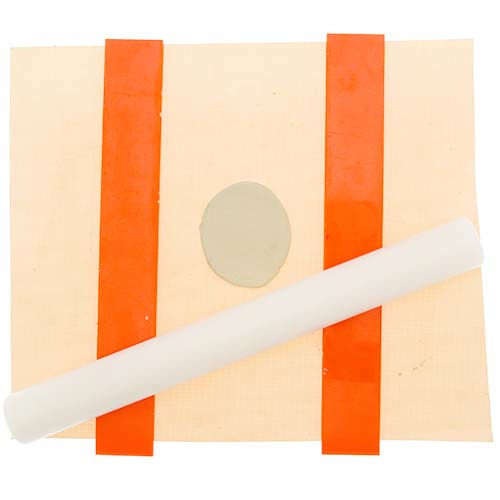
Rolling out clay with thickness slats on a teflon sheet with a commercial metal clay roller
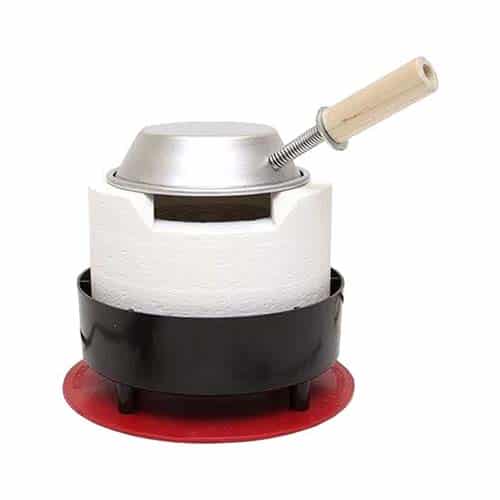
Beehive kiln
Intermediate Tools
Making
- Texture sheets, tiles, or stamps
- Templates
- Commercial thickness slats, guides, or frames
- Coffee mug, candle warmer, or dehydrator
- Paintbrushes for working wet
- Fluffy brush for removing sanding dust
- 6”x 2” (15cm x 50mm) piece of stiff Lucite™ for rolling coils
- Solid lubricant like Burt’s Bees, or Badger Balm
- Palette Knife
- Craft or Tissue Blade
- Hydrating container
- Drill bit or biopsy punch for making holes
- Carving tool for working with dry clay
- 3M Sanding Sponges
- Jeweler’s Finishing Papers
Firing
A camping stove like the Speedfire Cone System, microwave kiln, or a beehive kiln like the Ultralite are the least expensive, intermediate ways to fire metal clay.
Note: Although small pieces of copper and bronze clay can be fired with a butane torch – copper and bronze are trickier than fine silver due to the oxidation that forms when those metals are heated, and only fine silver can be fired in a microwave – please be sure to research these firing processes online to become familiar with the techniques.
- Camping stove
- OR Microwave kiln
- OR Ultralite beehive type kiln (used for firing fine silver only)
- Timer
- Bowl of water to quench/speed cool
Please see this article for more information about firing choices.
Finishing
- Wire Brush – Brass for silver, Stainless Steel for base metals
- Commercial patinas like Black Max™ or Jax® (Not available in all countries)
- Baking soda to neutralize the Black Max™/Jax®
- Liver of Sulphur (LOS) *does not need to be neutralized
- Polishing pad or cloth
- Metal or agate burnisher
- Dremel® rotary tool + 3M Radial Disks
- Tumbler
- Stainless Steel Mixed Shot
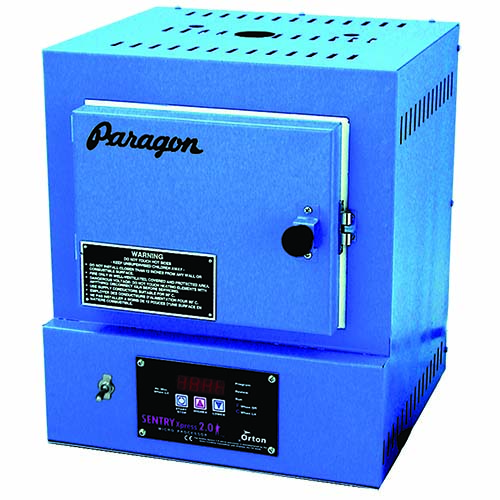
There are a variety of small metal clay / glass kilns on the market
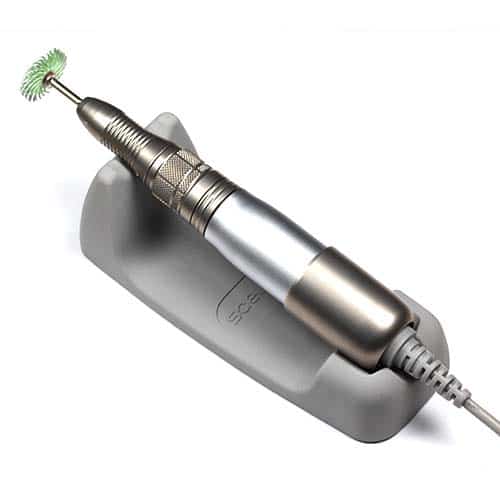
A rotary tool can be very handy! they work well with 3M Rotary Disks
Advanced Tools
There are any number of more exotic tools and supplies that you can collect for designing and creating with unfired metal clay. The tools listed below are investments that you might want to make to the tools you use to fire and finish the work.
Firing
- Kilns – Please see this comprehensive comparison of the variety of kilns you can use to fire metal clay. Note that each option also lists accessories that would need to accompany it.
Finishing
The following professional tools are often used when the finished look becomes a critical aspect of one’s work.
- A rotary tool such as a flexible shaft machine (aka flex shaft) will save time and energy when finishing work. There are many polishing tools and discs that have been specially designed to work with any rotary tool that will bring work to a lovely matte, or high-shine finish. A few of the most popular are:
- 3M Rotary Disks
- Silicone polishing bits
- Stainless steel and brass brushes
- Electric polishing arbors such as the JoolTool™ or Dura BULL® Polishing Station are larger and may complete a task faster than hand held rotary tools.
There’s always a possibility that you’ll run across a finishing problem that hasn’t been addressed here, so what should you do then? One of the most rewarding aspects of being a jewelry maker is problem solving. So if you don’t know of or own a specific tool, go ahead and invent it! Be ingenious and make what is needed in order to do what needs to be done. That’s part of the fun.
